How to add subtitles to movie and burn DVD on Mac
![]()
May 11, 2013 12:12 pm / Posted by Nelson Peter to DVD CategoryFollow @MacDVD_Studio
You found a good movie you love so much, but you don't know the movie language, and then the subtitle is what you need to understand the movie. And this step by step guide will show you the steps to add subtitle to movie, it includes three parts as follow:
1. Where to download free subtitles for movie
2. How to add the subtitles to movie on Mac
3. How to burn the movie to DVD on Mac
Part1. Where to download subtitles for movie
Subtitle file formats are typically found in .srt, .sub, .ssa, .ass. The file format of the video usually doesn't matter when it comes to adding subtitles. It you've got a film that doesn't have any subtitles. You can search and download the movie subtitles from these website. They are free.
divxsubtitles.net
opensubtitles.org
allsubs.org
moviesubtitles.org
mysubtitles.com
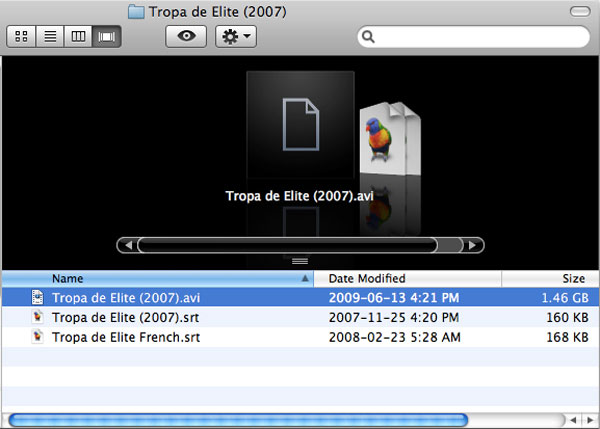
Part2. How to add subtitles to video and movie
If you want to add the subtitles to movie for only watch on Mac computer, you can follow this simply way.
1. Seach and download the subtitles file in the language you're looking for.
2. Create a new folder and copy the subtitles file into it.
3. Move your video file or movie file into the same folder.
4. If your video file is called 'iron man 2.avi', for example, you just need to rename the subtitle file to match that of the video file, which would be 'iron man 2.srt' in this case.
5. Then you can use free video player such as VLC to play the movie on your Mac. You should now see the subtitles appear during playback.
If you want to permanently add the subtitles to movie for uploading to iPod, iPhone, iPad, or burn the movie to DVD to play on DVD player or TV, you can follow this way, it's also easy to understand.
The tool you need is submerge, Submerge is a useful app that makes merging subtitles with video very easy. It's really cheap for only $9.

The Settings pane that opens up to the right of the interface offers up a host of options in how you want the subtitles to look and where you want them to go. By default, they align to the centre, but you can also move them to the left or right, if you prefer. Clicking the 'Render' button at the top will load the subtitles based on the choices you made, so you can see how they look while the video is playing. The 'Export to' button gives you the standard iPhone, iPad, iPod and Apple TV, but you also get the Sony PSP, Playstation 3. The exporting process is pretty simple, though it could take a while to convert the video.
If you'd prefer to check out the fonts, styles and sizes on their own, you can go to Submerge - Preferences under the menu bar and sample everything by clicking the 'Subtitles' tab. Here, you can see how everything looks without having to constantly guess and sample before rendering the subtitles with the video.
Another subtitle tool is isubtitle ($19). It's a little more expensive than submerge, But it's more powerful, it can add subtitles in multiple languages within the same video file. The interface is very similar to Submerge with a pane sliding out to the right. Adding extra subtitle files is as simple as clicking the + symbol and selecting the ones you want. iSubtitle will then do all the legwork of integrating it into the video without disturbing the other existing subtitle files.
Under the Metadata tab, you can also automatically or manually add details like a TV show's name, episode and season. And with Chapters, you can create your own chapter breaks in the video anywhere you want.

The best part is that all this data - multiple subtitles, chapters and details - is recognized when importing the video into other apps like iTunes, QuickTime and VLC. Even if you choose to watch using a media server with a game console, you can use a remote to skip chapters and choose subtitles like you would with any regular DVD. But this can be a little hit or miss, as the consoles aren't officially supported by the software with any presets.
There is full support with presets for the iPhone, iPad, iPod and Apple TV. iSubtitle's core feature is that it renders the subtitles independently, meaning that the resolution of the text is optimized with the best possible quality for whatever device you're using to play the video. The key is that the subtitles will look the same no matter how you're watching them.
Part3. How to burn the movie and video to DVD
After you embed the subtitles into the movie, you can follow this guide to burn the movie to DVD to play on TV.
1. Download and install this DVD Creator for Mac. This is the best DVD burning software I have ever tried on Mac. And then lunch it.
 |
 |
2. Drag and drop your video into DVD Creaotr or you can click the '+' to add video files into the DVD Creator.

3. This DVD Creator provides four output options: DVD Disc, ISO file, DVD Folder (Video_TS) and DVDMedia file. Choose the right output option and set proper output parameters to start burning your files. For playing on DVD player, we choose 'DVD Disc', then click start to burn the movie to DVD.

This is the simple guide for the DVD Creator, it can do more than you think, such as convert video to DVD, Make and Edit DVD Menu, Save DVD as ISO, Copy DVD to computer, etc. If you want to learn more about it, you can refer to this DVD Creator for Mac Tutorial.