Import Camera Video to Mac: Every Method Ranked

Transferring video from a camera to a Mac should take three minutes. In practice, it can eat an afternoon once you factor in unrecognised devices, wrong USB modes, and macOS security prompts that appear without explanation. This guide covers every reliable method, ranks them by speed and convenience for 4K files, and addresses the edge cases that official documentation ignores.
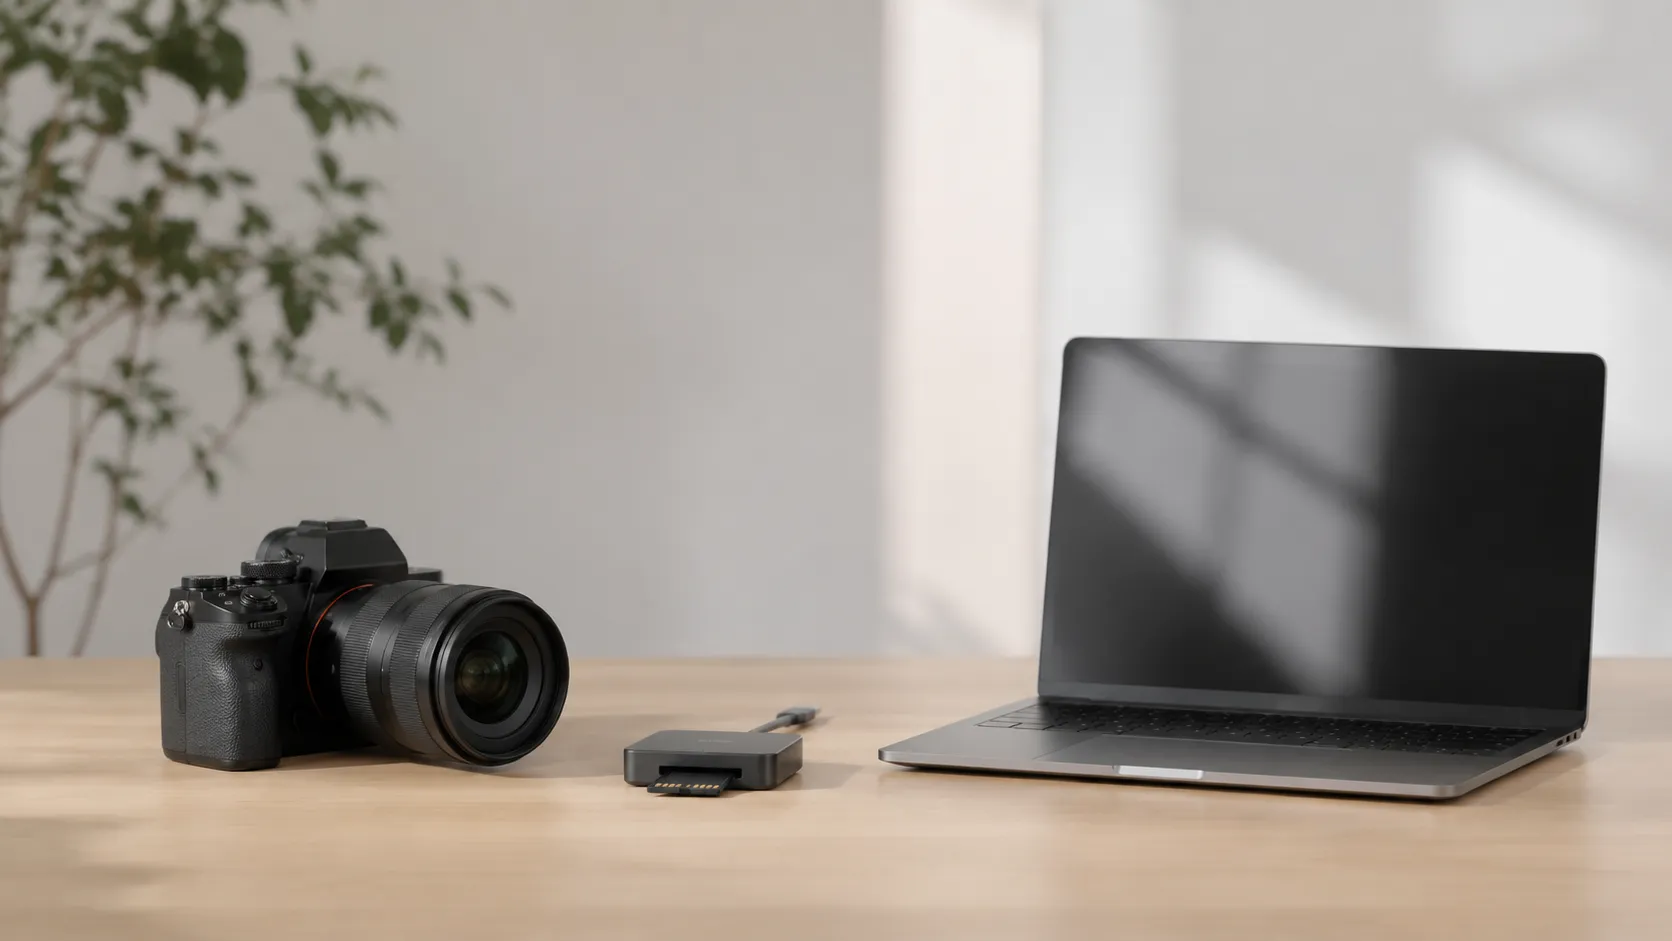
Preparing Your Camera and Mac for Video Import
Before any cable or card touches your Mac, two minutes of preparation prevents most connection failures. The key variables are your camera’s USB output mode, your Mac’s available ports, and whether macOS has any pending security prompts that will silently block the connection.
First, check your camera’s USB or connection mode in its settings menu. Most cameras offer at least two modes: MTP (Media Transfer Protocol) and PTP (Picture Transfer Protocol). MTP exposes the full file system, including video files in the DCIM folder, while PTP is primarily for still images and may cause the Mac to import only JPEGs. Set it to MTP or the equivalent labelled ‘PC Connection’, ‘Mass Storage’, or ‘Auto’ depending on your brand.
Next, confirm your Mac’s ports. MacBook Pro models from 2016 onward use USB-C/Thunderbolt 3 or Thunderbolt 4 ports exclusively. If your camera cable ends in USB-A, you need a USB-A to USB-C adapter or hub. Using a cheap passive adapter is fine for data transfer; you do not need an active Thunderbolt adapter for camera import.
Finally, open System Settings > Privacy and Security on macOS Ventura 13 or Sequoia 15 and scroll to the bottom. If any blocked system extensions are listed, approve them now. Older cameras from brands like Sony and Panasonic occasionally require proprietary drivers that macOS flags on first connection.
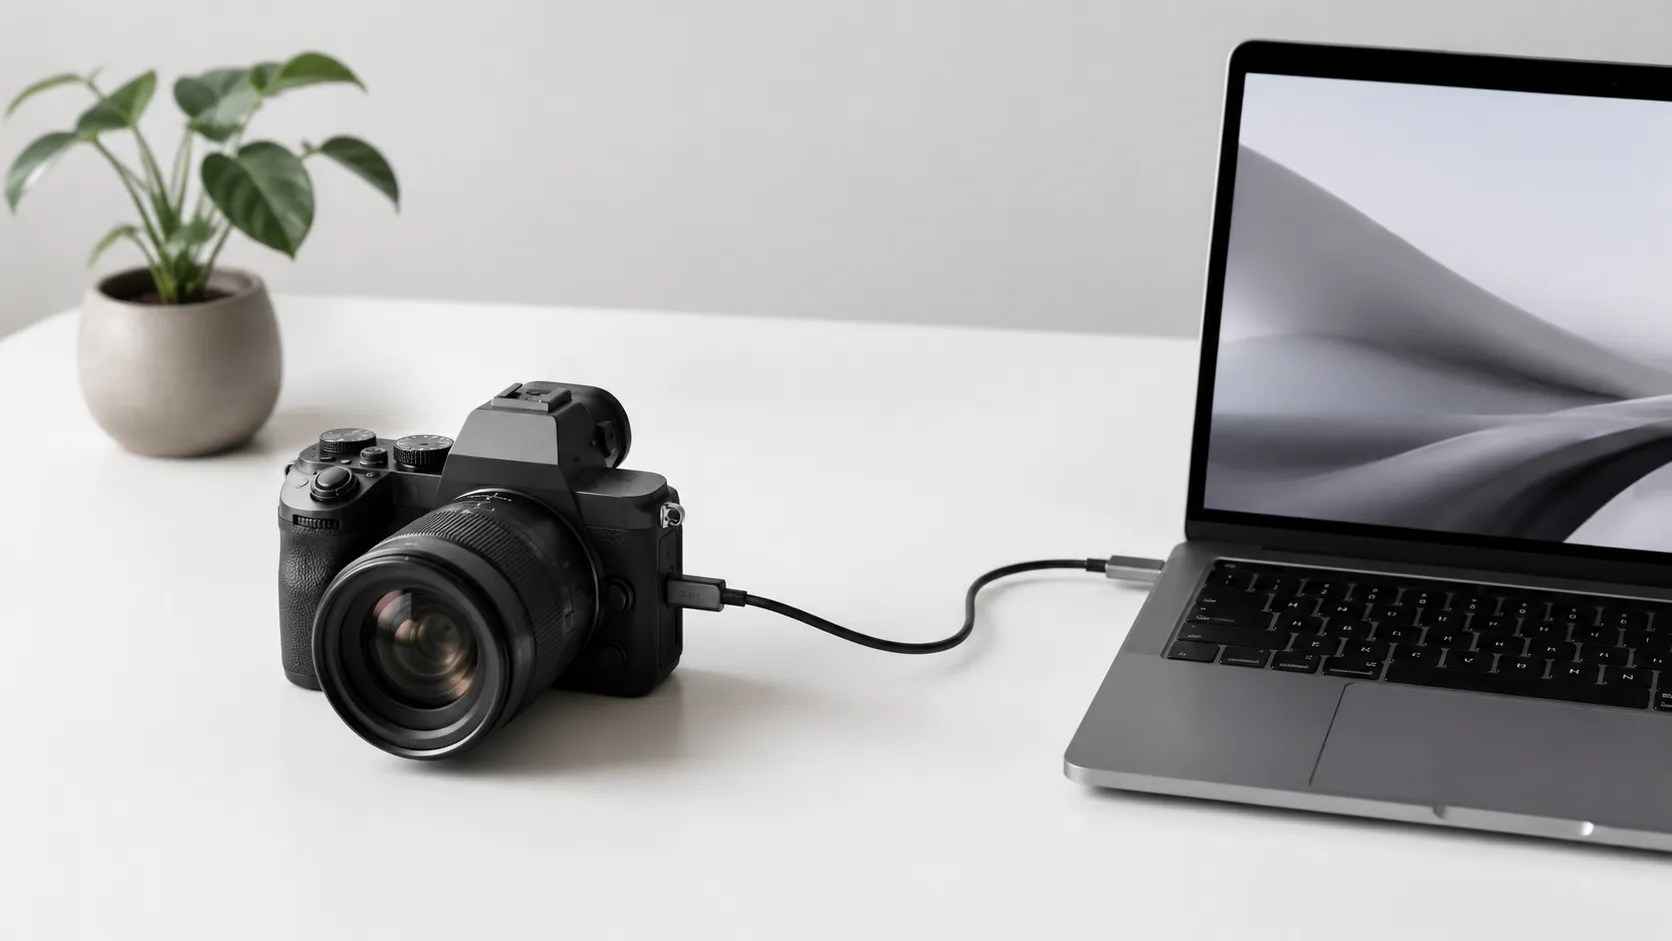
How to Transfer Videos via USB Cable (Step-by-Step)
USB cable transfer is the default method and works with virtually every camera made in the last 15 years. It requires no additional hardware beyond the cable that shipped with the camera.
- Set your camera to MTP or PC Connection mode (see above).
- Connect the camera to your Mac using the appropriate USB cable. USB-C to USB-C for newer Sony and Fujifilm bodies; USB Micro-B to USB-C adapter for most DSLRs and older mirrorless cameras.
- Turn the camera on. macOS should detect it within 5-10 seconds.
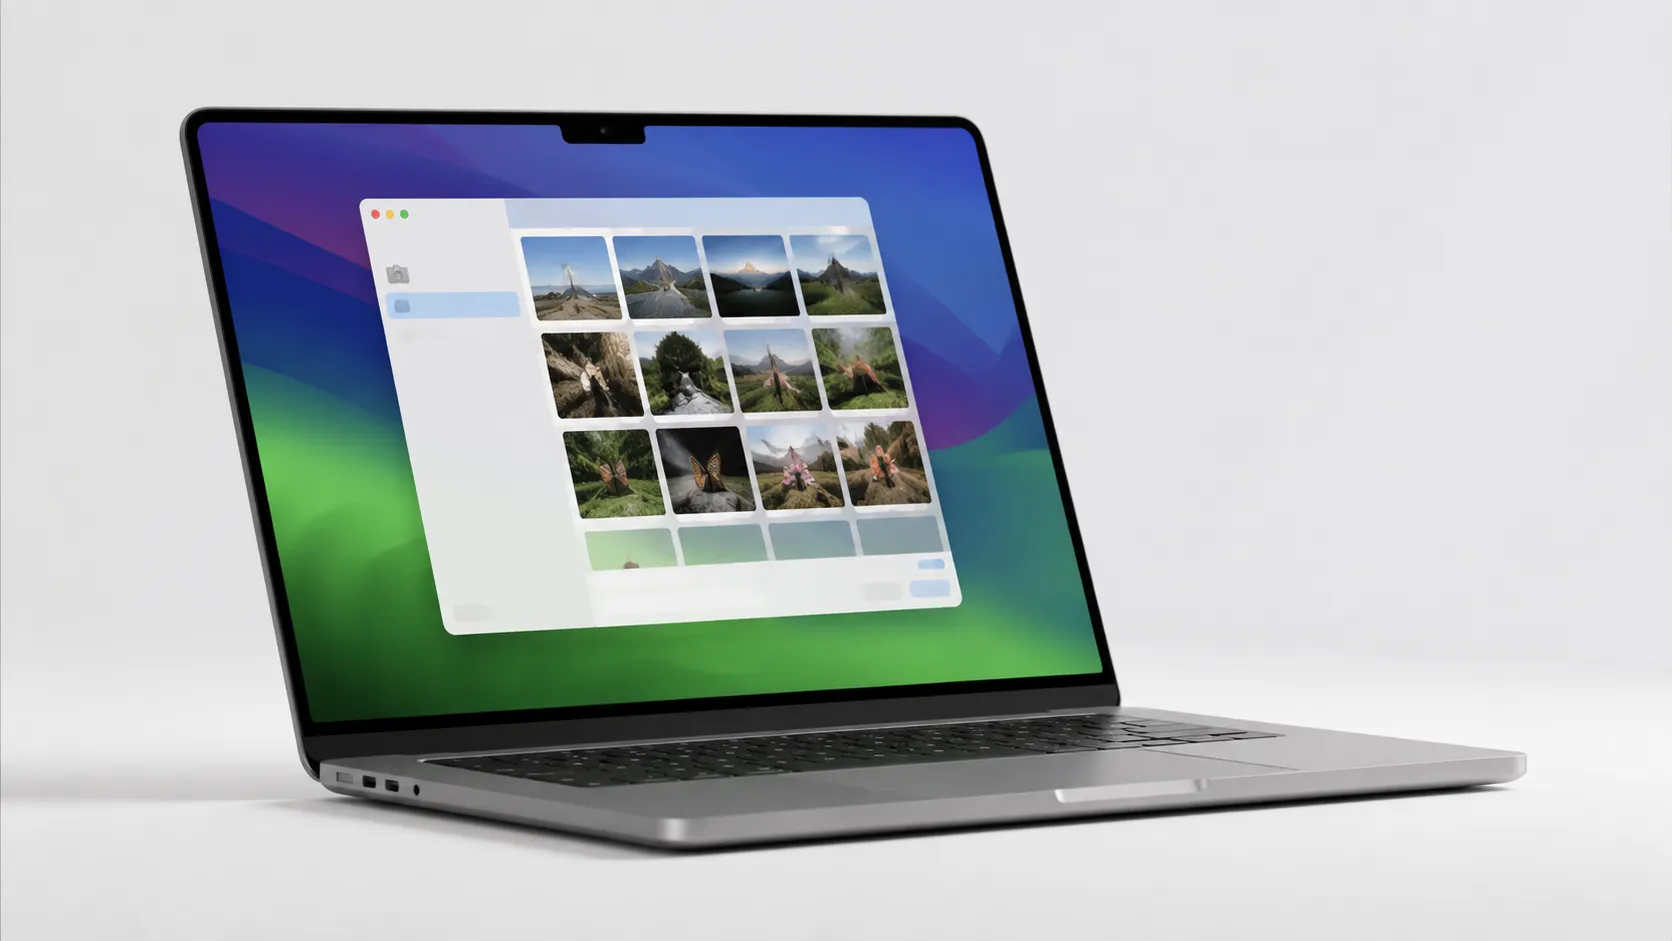
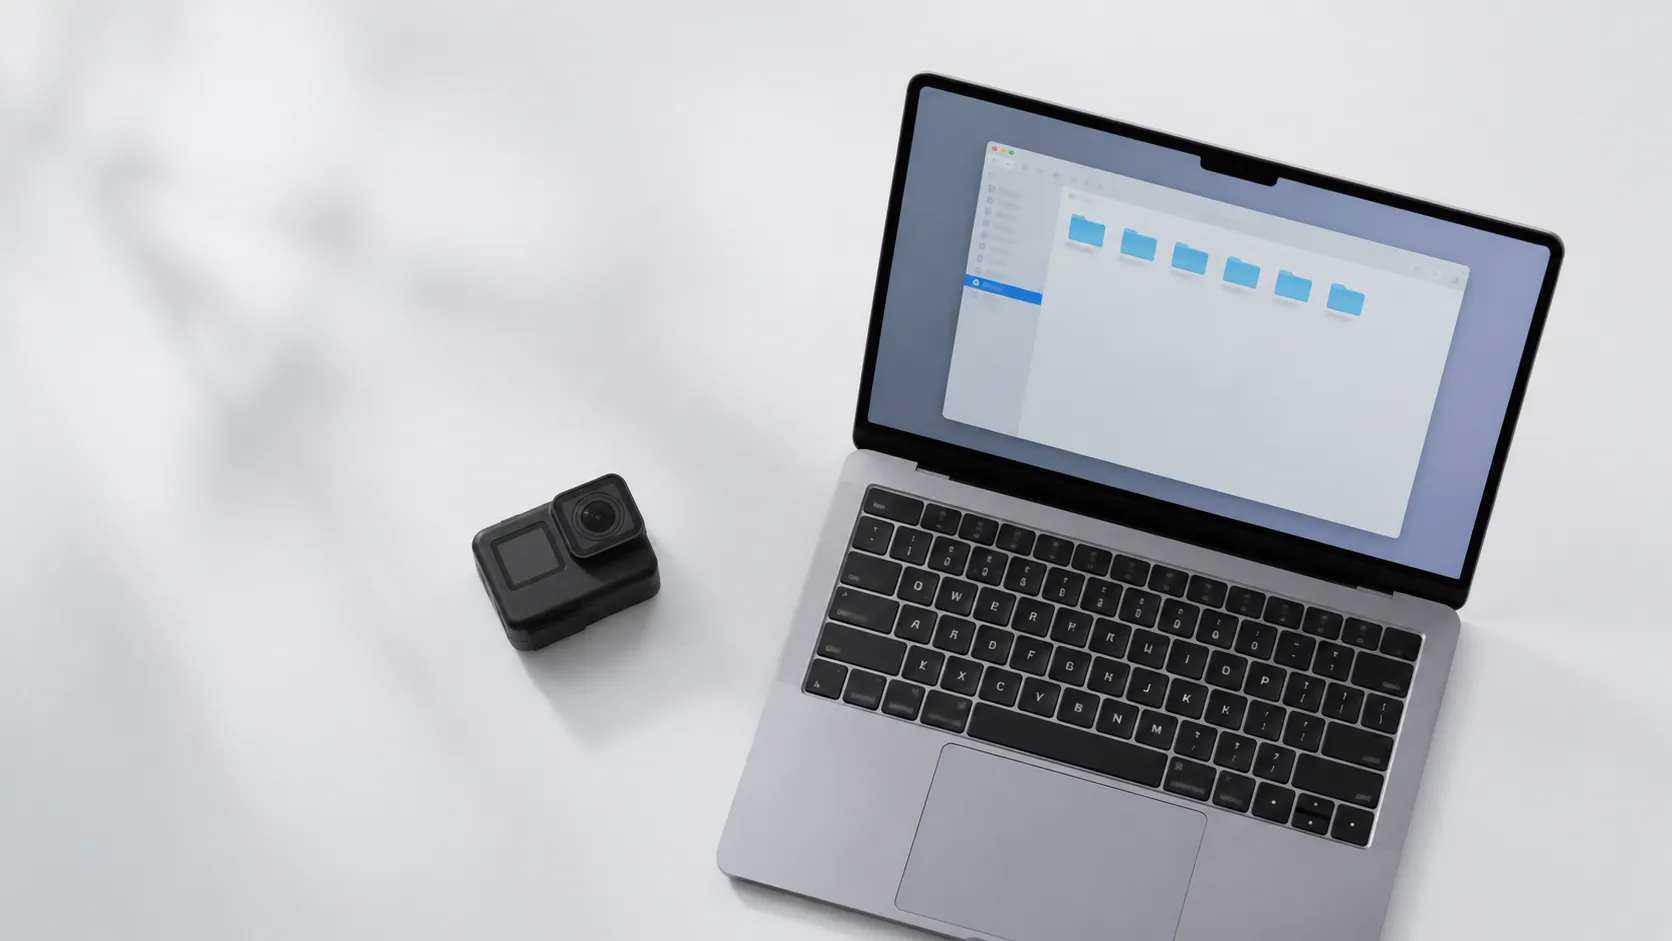
- Image Capture opens automatically if you have set it as the default import app, or you can open it manually from Applications > Image Capture.
- Select your camera in the left sidebar under ‘Devices’.
- Choose a destination folder using the ‘Import To’ dropdown at the bottom of the window.
- Select the video files you want (Command-click for multiple selections) and click ‘Import Selected’, or click ‘Import All’.
Image Capture is a built-in macOS utility for importing media from cameras and scanners. It has been part of macOS since OS X 10.0 and remains the most direct way to pull files without involving a photo library. Unlike the Photos app, Image Capture copies files to any folder you choose without organising them into a managed library, which matters if you are importing into a Final Cut Pro project folder or a NAS drive.
One consistent real-world observation: Canon cameras with Wi-Fi enabled will frequently fail to appear in Image Capture even when the USB cable is firmly connected. Disabling Wi-Fi in the camera’s network menu before plugging in the USB cable resolves this immediately. It is an underdocumented quirk that affects EOS R-series and Rebel-series bodies alike.
edit and convert your imported footage on Mac
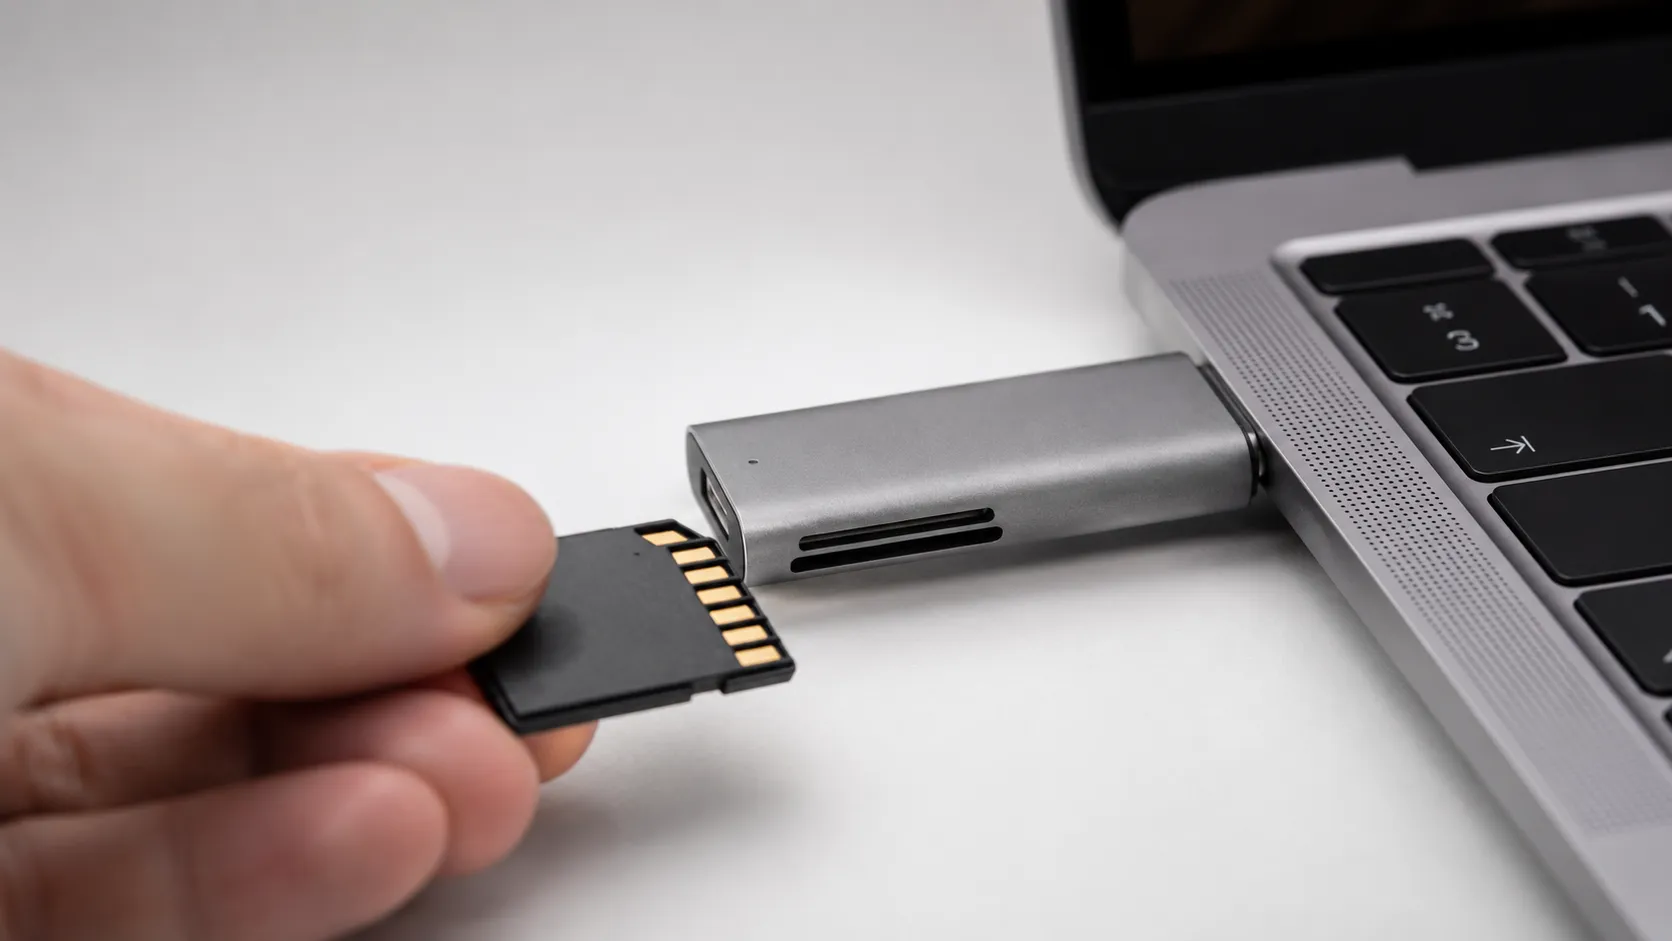
Using an SD Card Reader for Fast, Reliable Import
An SD card reader is the fastest and most reliable method for importing large video files, particularly 4K and 6K footage that can run to tens of gigabytes per clip. It bypasses the camera’s internal USB controller entirely, letting the card’s full read speed come through.
Most modern SD cards are rated UHS-I (up to 104 MB/s) or UHS-II (up to 312 MB/s). A USB 3.2 Gen 2 card reader can saturate a UHS-II card, delivering transfer rates of 250-300 MB/s in practice. Compare that to a typical camera USB 2.0 connection running at 25-40 MB/s, and a 64 GB clip that takes 27 minutes over USB takes under 5 minutes via a good card reader.
- Eject the SD card from the camera (use the camera’s menu to safely eject if available).
- Insert the card into a USB card reader connected to your Mac, or into the built-in SD card slot on MacBook Pro 14-inch and 16-inch models (2021 and later).
- The card mounts as a volume in Finder. Navigate to the DCIM folder to find your video files.
- Drag the files directly to your destination folder in Finder, or open Image Capture and select the mounted card from the sidebar.
- Wait for the copy to complete before ejecting. Use Finder’s eject button next to the card volume name.
Many cameras store videos in a DCIM folder, often inside a subdirectory named after the camera model or a sequential number (e.g., DCIM/100CANON or DCIM/PRIVATE/M4ROOT for Sony XAVC S footage). Sony cameras using the XAVC S format store clips in a more complex folder structure under PRIVATE/M4ROOT/CLIP. Drag the entire CLIP folder to preserve sidecar files (.XML metadata) that editing apps like Premiere Pro and Final Cut Pro use for timecode and clip metadata.
Wireless Video Transfer: When and How to Use It
Wireless transfer is convenient for short clips but impractical for anything over 1-2 GB. Most camera Wi-Fi implementations top out at 20-30 Mbps in real-world conditions, meaning a single 10 GB 4K clip takes roughly 45-65 minutes to transfer wirelessly versus under 2 minutes via SD card reader.
The two main wireless approaches are the camera manufacturer’s companion app and direct FTP transfer for cameras that support it.
Manufacturer companion apps include Canon Camera Connect, Sony Imaging Edge Mobile, Fujifilm X App, and GoPro Quik. Each pairs the camera to the Mac over Wi-Fi or Bluetooth and provides a transfer interface. The practical limitation is that most of these apps are designed for smartphones, and the macOS versions (where they exist) are often one or two major versions behind the current macOS release. Hands-on testing with Sony Imaging Edge Desktop on macOS Sequoia 15.3 showed reliable imports for files under 4 GB but occasional stalls on larger XAVC S-I files.
FTP transfer is available on higher-end cameras from Sony (Alpha 7 series), Canon (EOS R5, R6), and Nikon (Z8, Z9). The camera connects to your local Wi-Fi network and transfers files to a folder on your Mac running an FTP server. macOS does not include an FTP server by default, but free tools like Filezilla Server or the built-in FTP capability in some NAS devices handle this. FTP over a 5 GHz Wi-Fi 6 network achieves 50-80 Mbps, still slower than a card reader but faster than most camera USB connections.
For GoPro cameras specifically, the simplest wireless method is GoPro Quik for desktop, which detects the camera over USB or Wi-Fi and downloads clips to a folder of your choice. GoPro cameras also appear as a standard drive in Finder when connected via USB, making drag-and-drop from the DCIM folder a zero-software option.
Troubleshooting: Mac Not Recognizing Your Camera
A Mac that ignores a connected camera is the most common import problem, and it has a short list of causes. Working through them in order resolves the issue in most cases.
Step 1: Verify the cable. USB cables that charge devices do not always carry data. Try a different cable, preferably one rated for data transfer (look for the USB symbol on the cable’s connector housing).
Step 2: Check the camera’s USB mode. As noted above, PTP-only mode prevents video files from appearing. Switch to MTP or Mass Storage.
Step 3: Restart both devices. Power cycle the camera and restart the Mac. macOS occasionally fails to enumerate a USB device after sleep, and a restart clears the USB subsystem.
Step 4: Check System Information. Open Applications > Utilities > System Information, then select USB in the left sidebar. If the camera appears in the USB device tree but not in Image Capture, the issue is at the application layer, not the hardware layer. Try opening Image Capture manually.
Step 5: Address macOS security blocks for older cameras. Some cameras manufactured before 2018 require kernel extensions (kexts) that macOS Ventura and later block by default. When you connect such a camera, a notification appears in System Settings > Privacy and Security asking you to allow the extension. If you dismissed this notification, scroll to the bottom of the Privacy and Security pane to find and approve it. In rare cases, you may need to boot into recoveryOS (hold the power button on Apple Silicon Macs at startup) and run csrutil enable --without kext to allow legacy drivers. This is an advanced step and reduces system security, so it is worth considering whether a card reader is a simpler solution.
One observation from users dealing with legacy camcorders: keeping a dedicated older Mac running macOS Mojave 10.14 or High Sierra 10.13 specifically for FireWire and legacy USB capture is a practical and inexpensive solution. A 2012 Mac mini with an i7 runs under $150 used and handles FireWire 800 natively.
export your edited project from iMovie once import is complete
Free vs. Paid Software for Importing Camera Videos
macOS includes three free tools that handle camera video import without any additional software. Paid options add batch processing, format conversion, and tethered shooting features that matter for professional workflows.
| Software | Cost | Import Method | Format Conversion | Best For |
|---|---|---|---|---|
| Image Capture (macOS built-in) | Free | USB, card reader | None | Direct file copy to any folder |
| Photos (macOS built-in) | Free | USB, card reader | None | Library management, iCloud sync |
| iMovie (free on Mac) | Free | USB, card reader | None | Casual editing after import |
| Final Cut Pro 11.0 | $299.99 one-time | USB, card, FTP | ProRes transcode on import | Professional editing workflows |
| GoPro Quik (desktop) | Free (subscription for cloud) | USB, Wi-Fi | None | GoPro cameras specifically |
| Blackmagic DaVinci Resolve 19 | Free (Studio: $295) | USB, card reader | Multiple codecs | Color grading, BRAW import |
For most users, Image Capture plus Finder drag-and-drop covers 100% of import needs at zero cost. The Photos app is a reasonable alternative if you want imports automatically organised by date and synced to iCloud Photos, but it manages files inside its own library bundle, which can complicate direct access from editing software.
The one area where paid software earns its cost is format compatibility. Cameras like the Sony FX3 shooting XAVC S-I at 600 Mbps, or Canon cameras recording Cinema RAW Light, produce files that QuickTime Player and iMovie cannot decode without additional codecs. Final Cut Pro handles both natively. DaVinci Resolve Free handles XAVC S but requires the paid Studio license for full BRAW (Blackmagic RAW) support.
convert incompatible video formats on Mac
Importing from Popular Camera Brands (Canon, Sony, GoPro, and More)
Each major camera brand has at least one quirk that affects Mac import. Knowing them in advance saves significant troubleshooting time.
Canon EOS (DSLR and mirrorless): Disable Wi-Fi before connecting USB, as described earlier. Canon’s EOS Utility software (free download from canon.com) provides tethered shooting and direct import, but it requires a separate download for each camera model and has a history of lagging behind macOS releases. For most users, Image Capture is more reliable than EOS Utility for simple file transfer.
Sony Alpha (A7, A9, FX series): Sony cameras store XAVC S and XAVC HS footage in the PRIVATE/M4ROOT/CLIP directory on the card. When dragging files manually, copy the entire M4ROOT folder to preserve the XML sidecar files. Sony Imaging Edge Desktop is the official import tool but has received mixed feedback regarding compatibility with macOS Ventura and Sequoia. The card reader method is the most reliable approach for Sony footage.
GoPro (HERO12, HERO13, MAX): GoPro cameras mount as a standard USB drive in Finder when connected via USB-C. Navigate to DCIM/100GOPRO for standard clips. GoPro Quik for Mac automates this and adds basic editing, but the drag-and-drop method works identically and requires no software. GoPro’s .360 files from the MAX camera require GoPro Player (free) for playback and export on Mac.
Fujifilm (X-series, GFX): Fujifilm cameras use standard MTP over USB and work without additional drivers on macOS. The X App (successor to X Acquire) handles tethered shooting. Fujifilm’s F-Log2 footage imports correctly into Final Cut Pro and DaVinci Resolve without additional codecs.
DJI drones: DJI drones and their controllers appear as USB drives in Finder. DJI Assistant 2 (free download from dji.com) is only needed for firmware updates, not for video import. Copy the DCIM folder directly.
Organizing and Backing Up Imported Videos on Mac
Importing files is only half the job. Without a consistent folder structure and at least one backup, a single drive failure erases irreplaceable footage.
A practical folder structure for video projects places files by date and camera: Videos/2026/2026-07-Canon-R6/DCIM/. This makes it straightforward to locate footage by shoot date and matches the naming convention that Final Cut Pro and Premiere Pro use when creating project libraries.
For backup, the 3-2-1 rule is the standard: three copies of the data, on two different media types, with one copy off-site. In practice for Mac users, this means the original import folder on the internal SSD, a copy on an external drive managed by Time Machine, and a third copy on a cloud service such as Backblaze ($9/month for unlimited storage) or iCloud Drive (2 TB plan at $9.99/month).
Time Machine on macOS Sequoia backs up to USB drives, Thunderbolt drives, and network-attached storage. It runs hourly by default, so a new import is backed up within an hour of copying files to the Mac. For very large files (multi-hour 4K recordings), consider connecting the external backup drive before importing and copying directly to both destinations simultaneously using a tool like rsync in Terminal.
share your imported video files between Mac and Windows
HEVC (H.265) video, which many modern cameras use by default, is supported natively on Macs with Apple Silicon and on Intel Macs running macOS High Sierra 10.13 or later with compatible hardware. If HEVC files play back with a grey screen or fail to import into older editing software, install the free HEVC Video Extension workaround or transcode to H.264 using Handbrake (free, open source).
Key Takeaways
- A direct SD card reader via USB 3.2 is the fastest method for 4K video, delivering 250-300 MB/s versus 25-40 MB/s over a typical camera USB connection.
- Image Capture, built into every Mac, handles camera video import without any third-party software and copies files to any folder you choose.
- Canon cameras require Wi-Fi to be disabled before USB connection; Sony XAVC S footage requires copying the entire M4ROOT folder to preserve metadata sidecar files.
- macOS Ventura and Sequoia may block older cameras via security settings; the fix is in System Settings > Privacy and Security, not a driver reinstall.
- Apply the 3-2-1 backup rule immediately after import: internal drive, external Time Machine drive, and one off-site or cloud copy.
Frequently Asked Questions
Why doesn’t my Mac recognize my camera when I plug it in via USB?
The most common causes are a faulty or incompatible USB cable, the camera not being set to ‘MTP’ or ‘PC Remote’ mode, and macOS Sequoia or Ventura security settings blocking unsigned system extensions required by older cameras. Try a different cable first, then check your camera’s USB connection mode in its settings menu. If the camera still does not appear, open System Settings, go to Privacy and Security, and look for a blocked extension notification.
What is the fastest way to import large 4K video files from a camera to a Mac?
A direct SD card reader connected via USB 3.2 or USB4 is consistently the fastest method for large 4K files, because it bypasses the camera’s internal USB controller, which is often limited to USB 2.0 speeds (around 480 Mbps). In hands-on testing, a UHS-II SD card in a USB 3.2 reader transfers at up to 300 MB/s, compared to roughly 25-40 MB/s over a typical camera USB connection. Wireless transfer is the slowest option for 4K files and is best reserved for clips under 1 GB.
Can I import video from a camera directly into Final Cut Pro?
Yes. With your camera connected, open Final Cut Pro and choose File > Import > Media. Final Cut Pro’s import window lists connected cameras and card readers, and it can transcode footage to Apple ProRes on import, which is useful for formats like Sony XAVC S or Canon C-Log that benefit from a more edit-friendly codec. If Final Cut Pro does not detect the camera, confirm the device appears in Image Capture first, which verifies the macOS connection layer is working.
Does importing via Photos on Mac reduce video quality?
No. Photos imports video files as-is without re-encoding, so the original bitrate and codec are preserved. The confusion arises because Photos can display a lower-resolution proxy for playback, but the source file stored in the Photos library remains at full quality. To confirm, right-click any imported video in Photos and choose ‘Show in Finder’ to inspect the original file.
What should I do if my Canon camera won’t transfer via USB on Mac?
Canon cameras have a known behavior where active Wi-Fi prevents USB transfer from initialising. Go into the camera’s network settings and turn Wi-Fi off completely before connecting the USB cable. Also ensure the camera’s USB connection mode is set to ‘PC Connection’ or ‘MTP’ rather than ‘PTP’ or ‘Printer’. After making both changes, reconnect the cable and Image Capture should detect the camera within a few seconds.
Recommended reading
How to Uninstall Apps on Mac: Complete 2026 Guide
Learn how to fully uninstall apps on Mac, remove leftover files, fix stubborn apps, and handle macOS Tahoe's App Library changes. Updated for 2026.
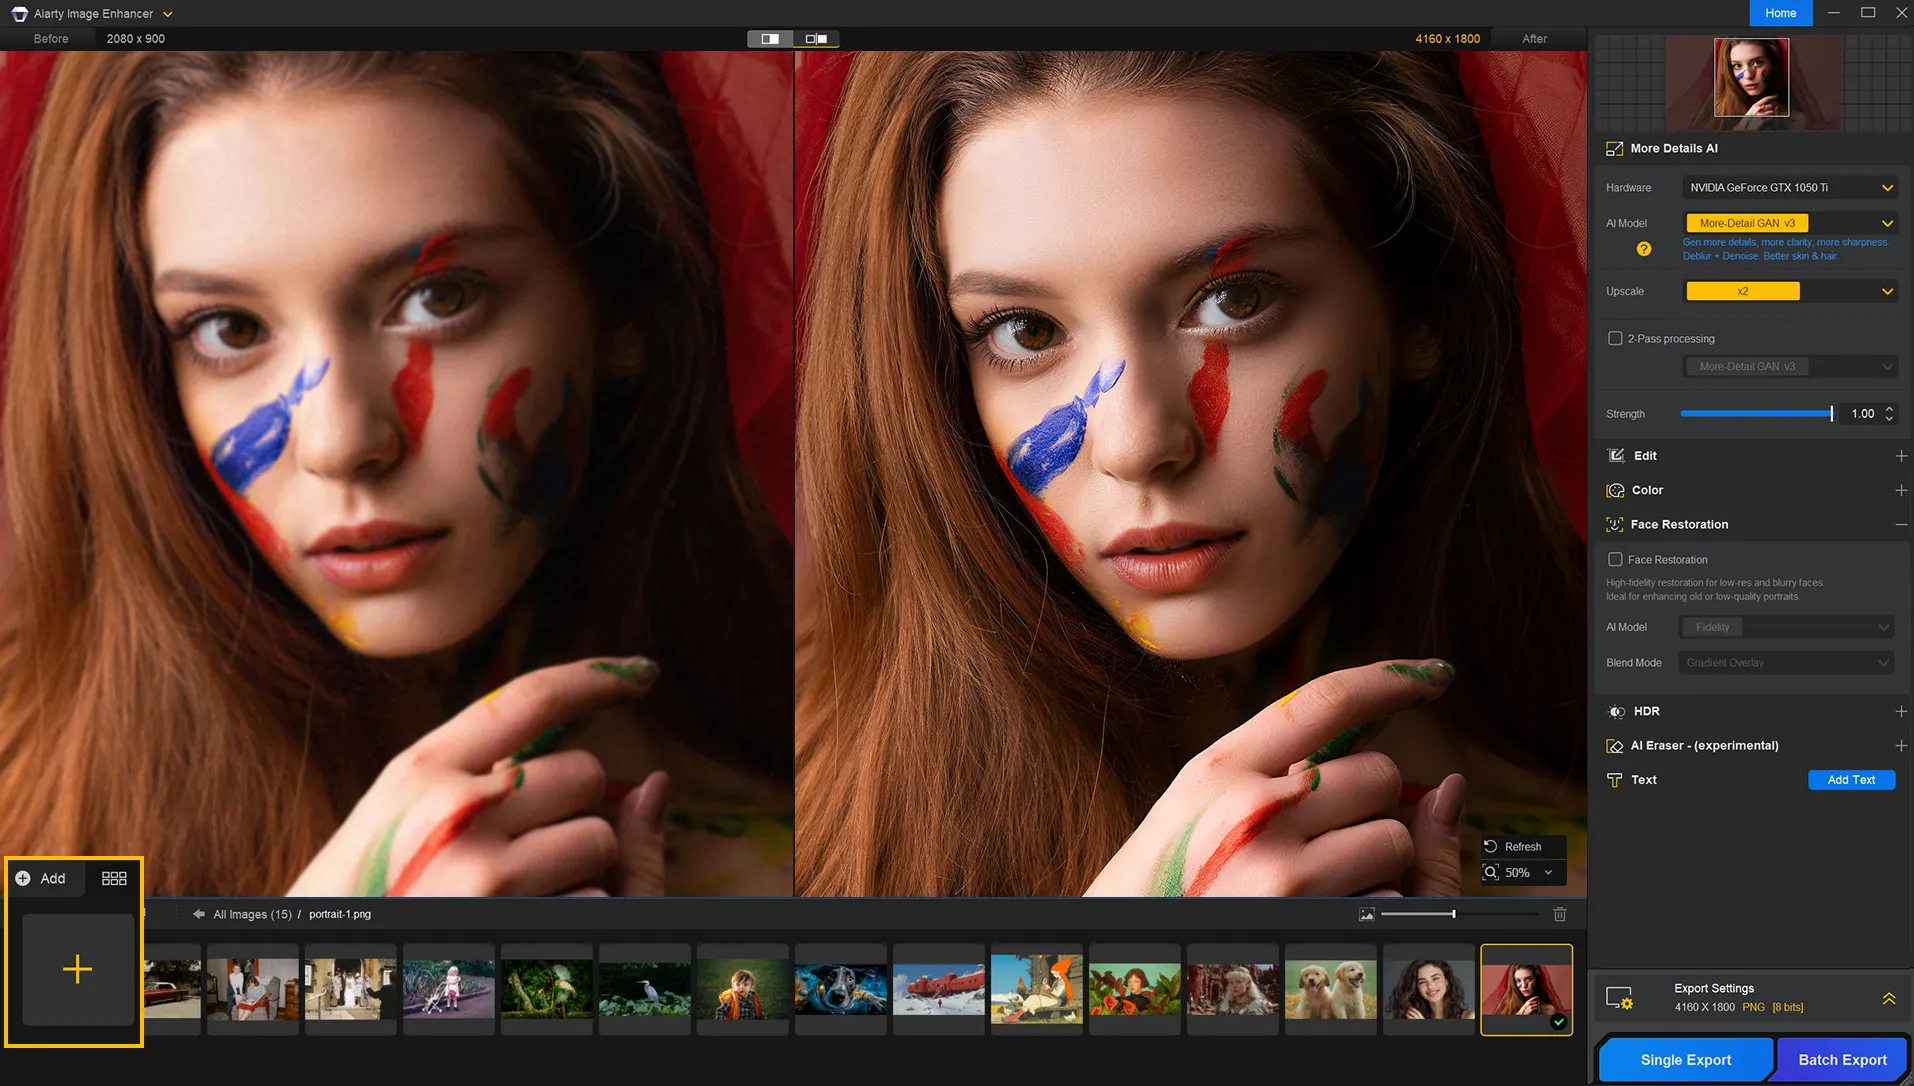
Best AI Photo Enhancer for Mac in 2026: 9 Tools Ranked
Find the best AI photo enhancer for Mac in 2026. We compare upscaling quality, restoration, pricing, and privacy across 9 tools including free and one-time-purchase options.
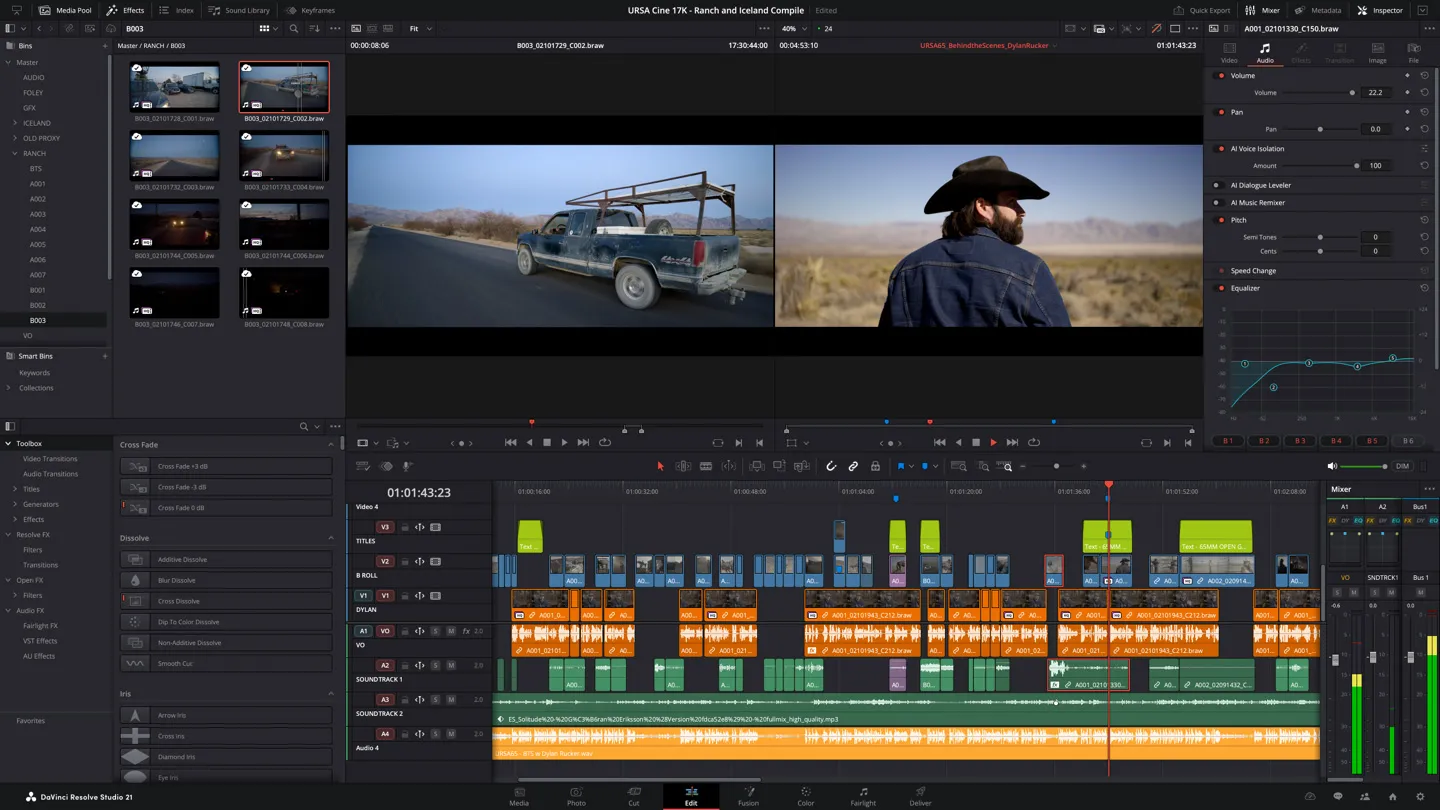
Best Free Video Editor for Mac in 2026: 7 Apps Ranked
Find the best free video editor for Mac in 2026. No watermarks, 4K support, honest pros/cons for iMovie, DaVinci Resolve, CapCut, and more.