Transfer Photos from iPhone to Mac Without Wrecking the Originals
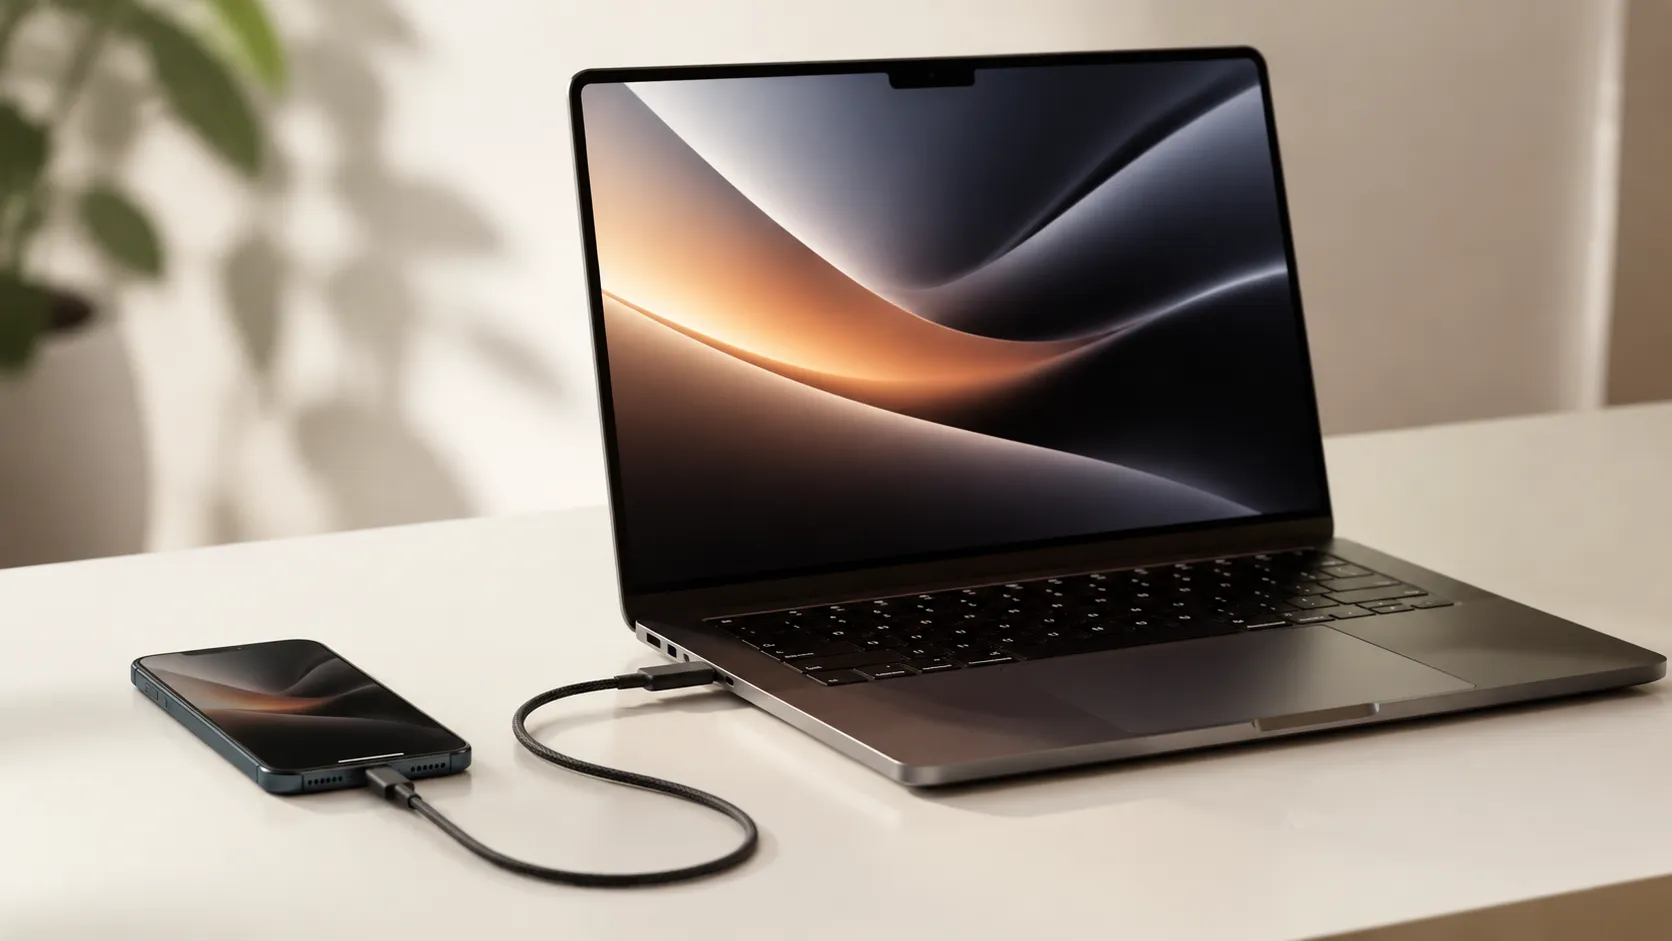
Transferring photos from iPhone to Mac sounds trivial until something goes wrong: timestamps scrambled, HEIC files nobody can open, AirDrop silently dropping half a batch, or the Photos app refusing to import to an external drive. This guide covers every native method available on macOS and iOS at the time of writing, ranks them, and flags the specific failure modes Apple does not document.
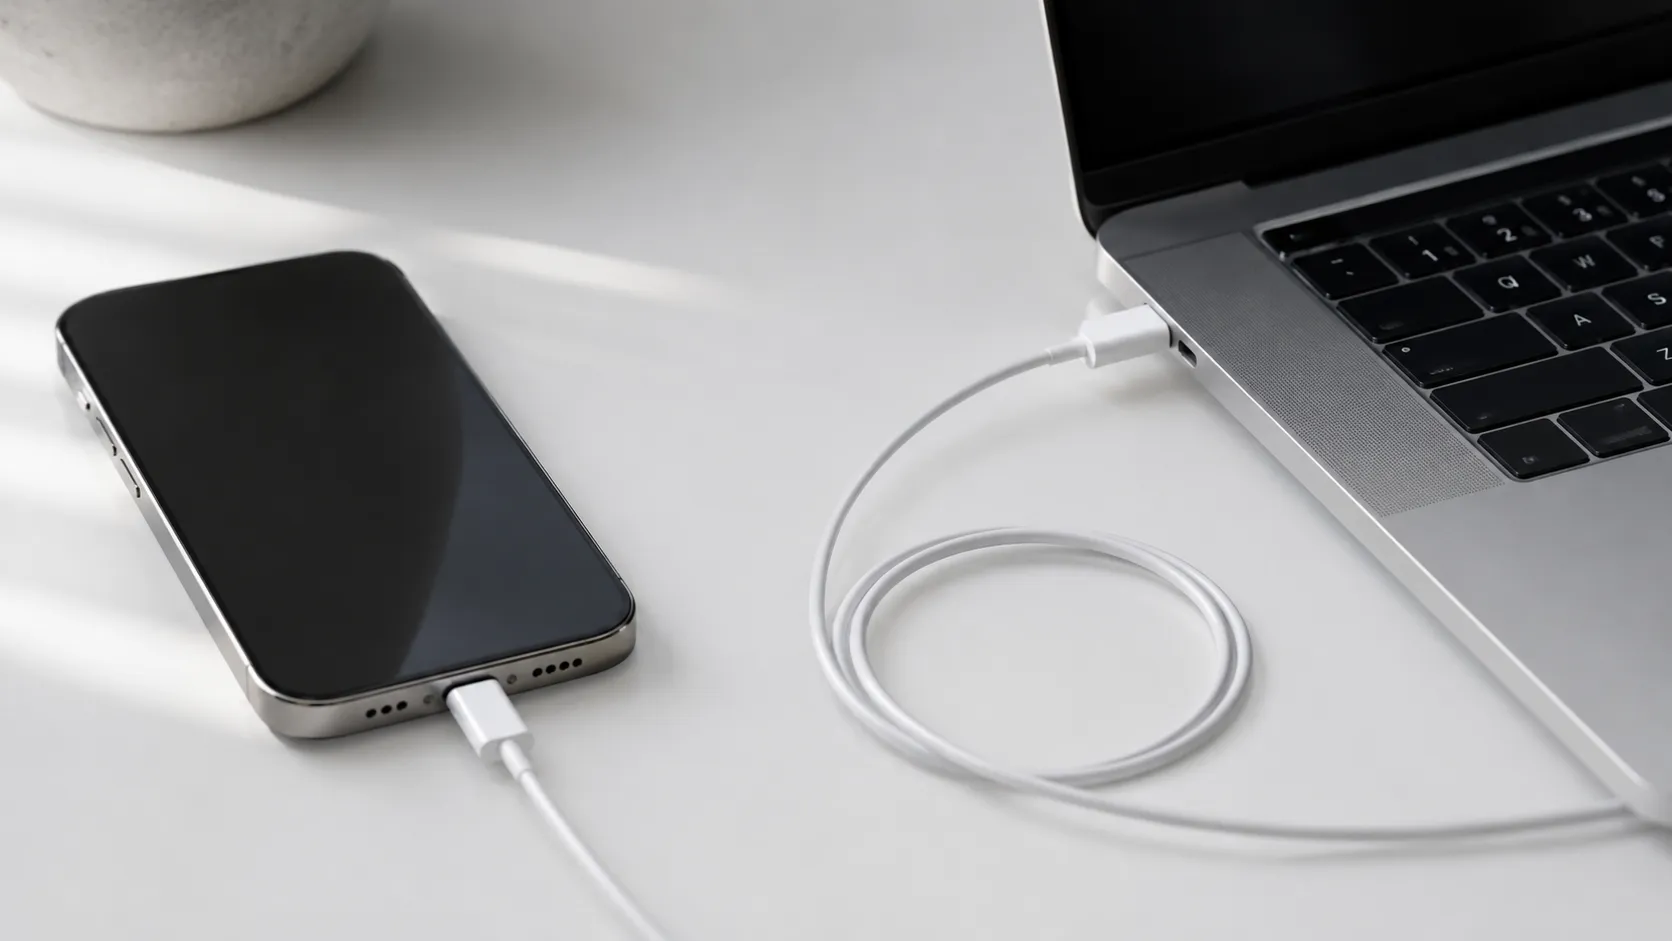
Set iOS Transfer to “Keep Originals” Before Any Cable Transfer
Navigate to Settings > Photos > Transfer to Mac or PC and select “Keep Originals.” This single setting controls the quality and stability of every cable-based transfer.
“Keep Originals” tells the iPhone to send files exactly as stored on its NAND flash, meaning HEIC images and HEVC video. “Automatic” tells the iPhone to transcode HEIC to JPEG and HEVC to H.264 MOV in real time during the transfer, which taxes the SoC and introduces serious bugs.
The bigger reason to avoid “Automatic” is what it does to timestamps. During real-time transcoding the system routinely writes the transfer date into the new JPEG’s creation field instead of the original capture date, which scrambles the chronological order of an imported library and is tedious to repair afterwards.
There is a second, older reason. A flaw in the public ImageCaptureCore framework appends roughly 1.5 MB of empty null data to every JPEG it converts, which is a meaningful waste across a large library. This was first documented in 2020 and affected any importer built on that framework, including Lightroom. Apple never announced a fix, and we have not been able to confirm whether it still occurs on current macOS, so treat it as a reason for caution rather than a certainty. Either way, not converting during the transfer sidesteps it.
Set this to “Keep Originals” now, before you do anything else. If you later need JPEGs for compatibility, the conversion section below explains how to do it correctly on the Mac side.
Method 1: USB Cable with Image Capture (Recommended)
Image Capture is a native macOS utility included with every macOS version that most users have never opened. It uses Apple’s public ImageCaptureCore framework to expose the raw DCIM folder contents of your iPhone as a flat file list, and it lets you import directly to any folder, including an external drive. Apple documents the app in its own Image Capture User Guide.
Here is how to use it:
- Connect your iPhone to your Mac with a USB-C or Lightning cable.
- Unlock your iPhone and tap “Trust” on the “Trust This Computer” prompt.
- Open Image Capture (find it via Spotlight or in /Applications/Utilities/).
- Select your iPhone in the left sidebar under “Devices”.
- Click the “Import To” dropdown at the bottom of the window and choose your destination folder, such as a specific folder on your Desktop or an external drive.
- Click “Download All” to import everything, or select individual files and click “Download”.
Image Capture moves several thousand photos over a USB-C connection without any application overhead. Users who discover it after years of fighting the Photos app consistently report it as the most direct and reliable option for raw file extraction.
The one real limitation: Image Capture bypasses the iOS SQLite database entirely, so it presents a flat chronological list of assets. It cannot see or preserve your iPhone albums. If album structure matters, see the iCloud method below.
Method 2: USB Cable with the Photos App
The Photos app is the right choice when you want to maintain a single managed library on your Mac and need to preserve non-destructive edits, Cinematic Video depth maps, or Live Photo bundles. It uses private Apple APIs rather than the public ImageCaptureCore framework, so the null-data padding described above does not apply to it either way.
- Connect your iPhone via cable and tap “Trust” if prompted.
- Open the Photos app on your Mac.
- Select your iPhone under “Devices” in the left sidebar.
- Click “Import All New Items”, or select specific photos and click “Import Selected”.
One important warning about the “Delete items after import” checkbox: do not check it if you have iCloud Photos set to “Optimize iPhone Storage.” When Optimize is active, full-resolution originals are not stored locally on the iPhone. The Photos app will attempt to delete assets that do not physically exist on the device, resulting in silent failures and incomplete deletions. Restarting both devices resolves many mysterious import failures with this method.
Bear in mind that importing into the Photos app puts a second full-resolution copy on the Mac, so a large import can eat a serious amount of disk space; how to free up space on Mac covers what to do when it does. The Photos app stores everything inside a .photoslibrary package, which is opaque to Finder. You cannot browse imported files as regular folders without right-clicking the library and selecting “Show Package Contents”, which is not recommended for casual use.
Method 3: AirDrop for Small Batches
AirDrop uses Apple Wireless Direct Link (AWDL), a peer-to-peer protocol negotiated over Bluetooth Low Energy, to create a direct Wi-Fi connection between devices. It requires no cable and no iCloud account, making it useful for quick, ad-hoc transfers.
One recent change is worth knowing. Since iOS 26.2 and macOS 26.2, AirDrop asks for a six-digit verification code when the sender is not in the recipient’s Contacts. Sending to your own Mac is unaffected as long as both devices are signed into the same Apple Account, because your Mac appears under “My Devices” rather than as a stranger. The code only comes up when someone else hands you photos from their phone, and once that first transfer completes the contact is saved, so no code is needed for the next 30 days.
To transfer via AirDrop:
- Open Photos on your iPhone and select the photos you want to send.
- Tap the Share icon, then tap “Options” at the top of the Share sheet.
- Toggle “All Photos Data” on if you need to preserve location metadata.
- Tap “AirDrop” and select your Mac from the list.
- Accept the incoming files on your Mac (they land in your Downloads folder by default).
AirDrop is reliable for batches under 100 files. For larger transfers, particularly batches containing high-bitrate 4K ProRes video, thermal throttling causes the protocol to drop files silently or abort entirely. There is no transfer log, so you will not know which files were lost without manually checking.
Method 4: iCloud Photos for Automatic Syncing
iCloud Photos is the only native method that fully preserves album structure, non-destructive edits, and Live Photo bundles across devices. When enabled on both your iPhone and Mac, photos upload to Apple’s servers and download automatically to the Mac’s Photos library, with no cable required.
To enable it: go to Settings > [Your Name] > iCloud > Photos on your iPhone, and toggle iCloud Photos on. On your Mac, open System Settings > [Your Name] > iCloud > Photos and do the same.
The hard constraint is storage. Apple provides 5 GB free, and a typical iPhone library exceeds that quickly, so most people end up on a paid iCloud+ plan. Upload speed then depends entirely on your home broadband upload bandwidth, not on the Mac: a 50 GB library on a 10 Mbps upload connection takes roughly 11 hours, and the Mac has to stay awake for it.
Comparing All Methods
The table below covers the primary approaches across the dimensions that matter most for practical use.
| Method | Preserves Albums | Destination Control | Speed (1,000 photos) | Cost | Works Offline |
|---|---|---|---|---|---|
| Image Capture (USB) | No | Full (any folder) | 3-8 minutes | Free | Yes |
| Photos App (USB) | Yes (as albums) | No (.photoslibrary only) | 3-8 minutes | Free | Yes |
| AirDrop | No | Downloads folder | 5-15 minutes | Free | Yes |
| iCloud Photos | Yes | No (.photoslibrary only) | Hours (WAN-dependent) | Free up to 5 GB | No |
For raw file extraction to a specific folder or external drive, Image Capture wins. For preserving album structure and Cinematic Video metadata, iCloud Photos or the Photos app is the correct choice. AirDrop is the fastest option for under 100 files when no cable is available.
How to Transfer Photos Directly to an External Hard Drive
The Photos app cannot natively import to an external drive. Image Capture handles this without any workaround. Connect both your iPhone and your external drive, open Image Capture, select your iPhone, click the “Import To” dropdown, navigate to your external drive, and click “Download All.”
If your external drive is formatted as ExFAT or APFS, HEIC files transfer without issue. FAT32 volumes have a 4 GB per-file limit, which will silently truncate long ProRes video files. Format external drives as ExFAT for broadest compatibility.
how to import camera video to Mac from any device
Converting HEIC to JPEG After Transfer
If you transferred using “Keep Originals” (which you should), you now have HEIC files on your Mac. macOS can preview HEIC natively, but many Windows apps and older web services cannot. You do not need third-party software.
Option 1: Terminal batch conversion with sips. Open Terminal and navigate to the folder containing your HEIC files, then run:
for i in *.HEIC; do sips -s format jpeg -s formatOptions 95 "$i" --out "${i%.*}.jpg"; doneThe -s formatOptions 95 flag sets JPEG quality to 95 out of 100, preserving detail while reducing file size. This runs entirely on your Mac, with no files sent to any server.
Option 2: Finder Quick Actions. Select multiple HEIC files in Finder, right-click, choose Quick Actions > Convert Image, and select JPEG. This runs the same sips binary through a visual interface.
Preserving Live Photos, ProRAW, and Edited Photos
Live Photos are bundles: one HEIC still paired with one short MOV clip. Image Capture separates these into two individual files. The link between them is severed permanently on the Mac file system. If you need Live Photos to remain intact and playable, transfer via the Photos app or iCloud Photos.
Apple ProRAW files are 12-bit linear DNG files containing Deep Fusion and Smart HDR computational data. Transferring them under the “Automatic” setting strips that computational metadata and flattens them into processed JPEGs. Always use “Keep Originals” for ProRAW.
Edited photos present a specific behavior in Image Capture worth knowing. When you have edited a photo on iPhone (cropped, filtered, adjusted), iOS stores the edit instructions in a hidden .AAE sidecar file rather than overwriting the original. Image Capture surfaces both the original file (e.g., IMG_8887.HEIC) and a pre-rendered edited version with an E prefix (e.g., IMG_E8887.HEIC). This is not a bug or a duplicate: it is the system exposing both versions transparently. Import the E-prefixed file if you want the edited result.
Troubleshooting Common Transfer Problems
iPhone not appearing in Image Capture or Photos. Unlock your iPhone first, then reconnect the cable. If the Trust prompt does not appear, go to Settings > General > Transfer or Reset iPhone > Reset > Reset Location & Privacy, which clears the trust certificate cache. Restarting both devices resolves the majority of recognition failures.
Photos app hangs or shows 0 items. If iCloud Photos is active with “Optimize iPhone Storage”, the Photos app may show fewer items than expected because full-resolution originals are in the cloud, not on the device. Disable Optimize temporarily or use iCloud Photos on the Mac to download everything first.
USB-C hub causing recognition failures. Connecting through a multiport USB-C adapter occasionally prevents the iPhone from being recognized for photo transfers. Connect the cable directly to a Thunderbolt port on the Mac whenever possible.
AirDrop transfer completes but files are missing. AirDrop provides no transfer log. For batches over 50 files, compare file counts manually. If files are missing, send in smaller batches of 20-30 at a time.
how to recover iPhone data if a transfer fails or files are deleted
When a Third-Party Transfer App Is Worth It
For the job this guide describes, getting photos off an iPhone and onto a Mac, the native tools are enough. Image Capture handles raw extraction to any folder, the Photos app handles albums and Live Photos, and neither costs anything. Do not pay for software to do what Image Capture already does well.
A paid app earns its place when you need the things Apple deliberately does not offer: moving content back the other way without a full library sync, pulling photos out while keeping album structure but without turning on iCloud, or browsing an existing backup file by file to extract just a few images. AnyTrans is the established option in that category, and iMazing is the credible alternative worth comparing against before you buy either.
Key Takeaways
- Always set iPhone to “Keep Originals” for cable transfers; the “Automatic” mode corrupts JPEGs with null data and can alter timestamps.
- For direct file extraction, Image Capture is unmatched. The Photos app should be used only if you require intact albums, Live Photos, or Cinematic Video depth data.
- AirDrop removes location metadata unless you enable “All Photos Data” in the share options.
- macOS includes the
sipscommand for high-quality HEIC to JPEG conversion in Terminal. - Avoid using Finder for photo transfers; it is designed for syncing content to the iPhone, not from it, and the workaround is unreliable for large libraries.
Frequently Asked Questions
Why do my photos show the wrong date after transferring from iPhone to Mac?
This is caused by the ‘Automatic’ conversion setting in iOS Photos settings. When the iPhone converts HEIC files to JPEG during the transfer, it frequently overwrites the original EXIF creation timestamp with the transfer date. Switch to ‘Keep Originals’ in Settings > Photos > Transfer to Mac or PC to preserve accurate timestamps.
Does AirDrop preserve location metadata when transferring photos?
Not by default. AirDrop strips EXIF location data for privacy unless you explicitly enable ‘All Photos Data’ in the iOS Share sheet before sending. Tap the Share icon, scroll to the top of the Share sheet, tap ‘Options’, and toggle ‘All Photos Data’ on.
Can I transfer photos from iPhone directly to an external hard drive on Mac?
Yes, using Image Capture. Connect your iPhone and your external drive, open Image Capture, click the ‘Import To’ dropdown at the bottom of the window, and select your external drive as the destination. The Photos app cannot do this natively without an extra relocation step.
What is the difference between Image Capture and the Photos app for importing iPhone photos?
Image Capture uses the public ImageCaptureCore framework and deposits raw files into any folder you choose, giving you full control over the destination. The Photos app uses private Apple APIs, imports into a sealed .photoslibrary package, and is the only native method that preserves Cinematic Video depth maps and non-destructive edits.
Is Finder a good way to transfer photos from iPhone to Mac?
No. The Finder device view is built to sync photos from the Mac to the iPhone, not the other way around. Extracting photos via Finder requires a cumbersome workaround involving the iOS Files app, manual ZIP archiving, and iTunes File Sharing, and it frequently fails on transfers larger than about 8 GB.
Recommended reading
How to Recover iPhone Data, With or Without a Backup
Learn how to recover iPhone data from iCloud, iTunes, third-party software, or professional services, including when no backup exists or the device is broken.
Transfer iPhone Music to Mac: Why No Single Apple Method Covers Everything
Learn how to transfer iPhone music to Mac using Finder, iCloud, AirDrop, and third-party tools. Free and paid options covered with step-by-step instructions.
Mirror iPhone to Mac: iPhone Mirroring, AirPlay and QuickTime (2026)
Learn how to mirror iPhone to Mac using iPhone Mirroring, AirPlay, or USB cable. Step-by-step setup, troubleshooting tips, and app comparisons.