How to Free Up Space on Mac: System Data, Snapshots and Purgeable Space
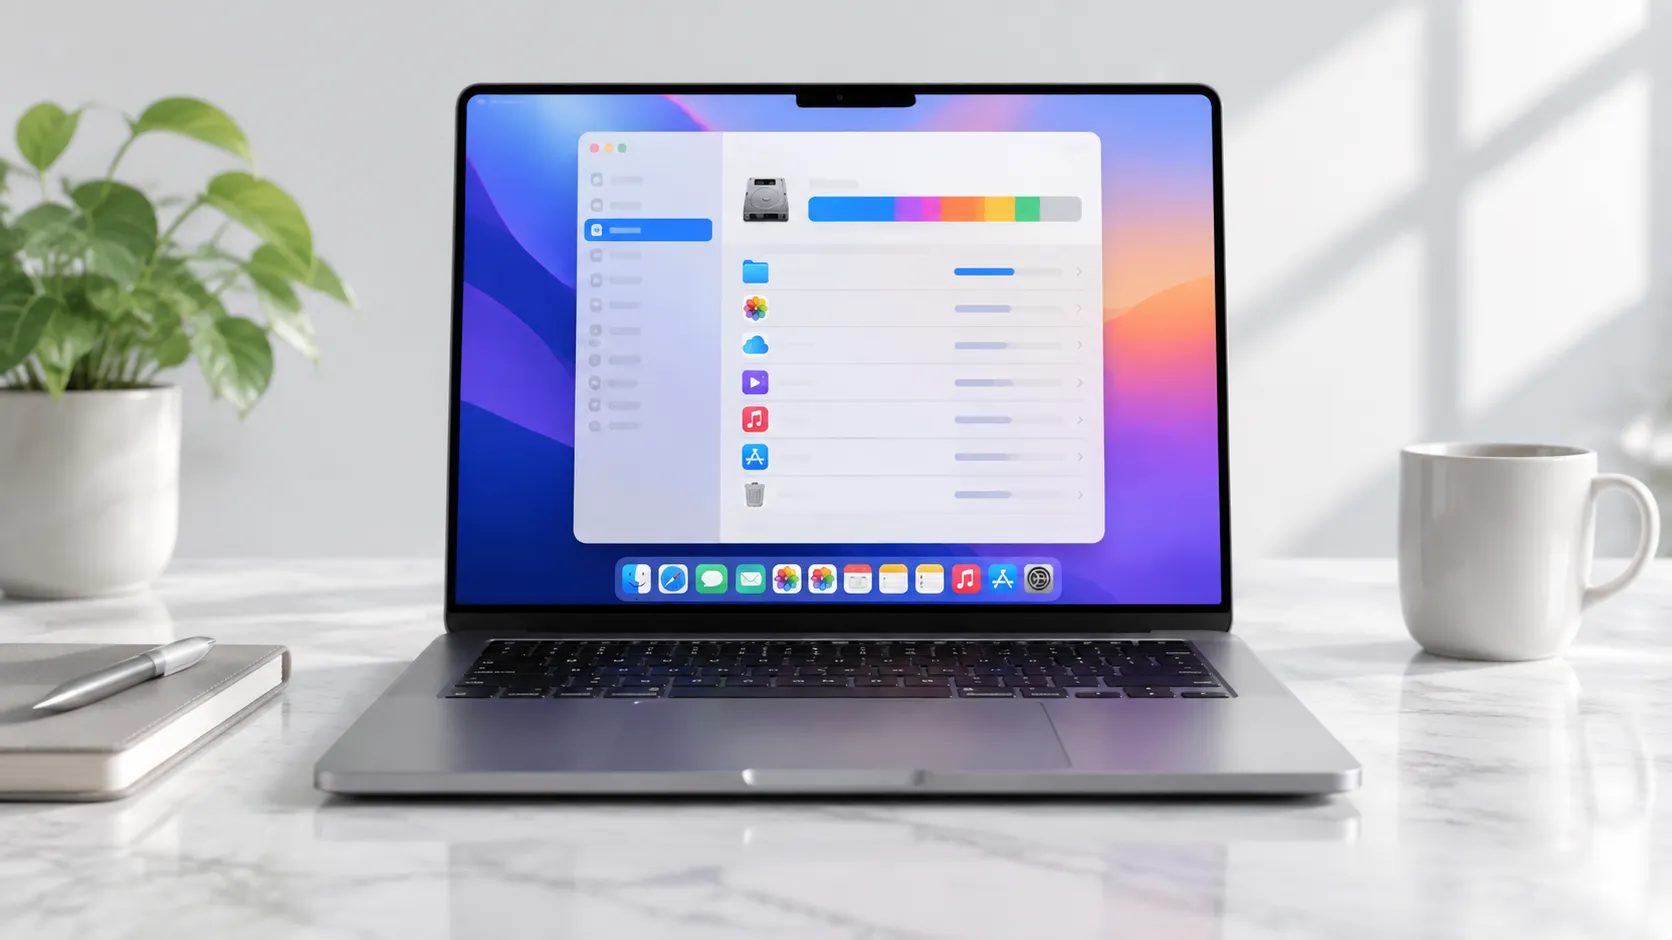
A full Mac fails in confusing ways: downloads refuse to start while Finder still claims there is space, updates will not install, and the Storage panel points at a category called System Data that it gives you no way to shrink. This guide covers what actually reclaims space on macOS 26 Tahoe, in the order worth trying, and flags the popular advice that does nothing or does damage.
Key Takeaways
- Disk Utility, not Finder, shows the true free space on an APFS volume. Finder’s “Available” figure includes purgeable space that may never be automatically cleared.
- System Data that has swollen into the tens of gigabytes is almost always some combination of VM swap (fix: restart), application caches (fix: clear
~/Library/Caches), and local Time Machine snapshots (fix:tmutil deletelocalsnapshots). - Store in iCloud offers the largest single reclamation (50 GB to 200 GB) but requires a paid iCloud+ tier and treats the cloud as external storage, not a deletion.
- Apple Intelligence models in macOS 26 Tahoe permanently occupy several gigabytes of System Data and can only be removed by disabling the feature entirely in System Settings.
- iOS backups stored under
~/Library/Application Support/MobileSync/Backuproutinely consume 5 GB to 150+ GB and are the single highest-value manual deletion target for users who sync iPhones to their Mac.
How Can I See My Mac’s True Free Space Using Disk Utility?
Quick answer: Open Disk Utility, select the APFS Container (not the volume), and read the “Free” figure to see physically unallocated space. This is the real free space, unlike Finder’s Available number that includes purgeable space.
Before deleting anything, you need an accurate picture of where space is actually going. macOS 26 Tahoe moved storage management to Apple Menu > System Settings > General > Storage, deprecating the old About This Mac path entirely as part of the Liquid Glass redesign (Apple Support). The bar chart at the top of that panel breaks usage into categories: Applications, Photos, Documents, iOS Files, Messages, and System Data.
The panel is useful for high-level triage, but it hides a critical flaw. Finder’s “Available” figure is calculated as Free + Purgeable, meaning it includes space macOS theoretically could clear but has not yet cleared. According to Eclectic Light Co. (February 2025), third-party apps and UNIX copy operations query the statvfs system call’s f_bfree field, which reports only truly unallocated blocks. That mismatch explains why Finder can show 40 GB available while a 20 GB download fails with a “Disk Full” error.
To see the real number, open Disk Utility, click the APFS Container in the left sidebar (not the individual volume beneath it), and read the “Free” figure in the right panel. That is the physically unallocated space your Mac can actually use right now.
Using Terminal to Audit Large Directories
For a folder-by-folder breakdown that the GUI never shows, Terminal is faster than any paid app. Run the following commands:
- Open Terminal (Applications > Utilities > Terminal).
- Run
du -hxd 1 ~/to list the size of every top-level folder in your home directory. - Run
du -hxd 1 ~/Library/to drill into the Library folder, where most hidden bloat lives. - Sort the output mentally or pipe it:
du -hxd 1 ~/Library/ | sort -rh | head -20.
This matters because the biggest offenders are usually invisible in Finder. Game installations, virtual machine images, container layers and app support folders all sit inside hidden directories that the Storage panel rolls up into a single unhelpful bar. A du run names them in seconds.
How Effective Are Apple’s Built-In Storage Tools for Reclaiming Space?
Quick answer: Apple’s four built-in tools can reclaim 5 GB to 200 GB, but Store in iCloud requires a paid iCloud+ plan for meaningful gains; Optimize Storage works automatically for media and mail attachments.
Apple’s four built-in optimizations live under System Settings > General > Storage and represent the lowest-effort starting point. Their actual reclamation potential varies widely, and understanding the ceiling of each saves time.
| Tool | Realistic Reclaim | Reversible? | Requires Paid Tier? | What It Actually Does |
|---|---|---|---|---|
| Store in iCloud | 50 GB to 200 GB | Yes (re-download) | Yes (iCloud+) | Offloads Desktop, Documents, Photos, Messages to iCloud Drive |
| Optimize Storage | 5 GB to 50 GB | No (re-download manually) | No | Deletes watched Apple TV content; strips old Mail attachments |
| Empty Trash Automatically | Variable | No | No | Hard-deletes Trash items older than 30 days |
| Review Files (Reduce Clutter) | Variable | No | No | Opens the Review Files list: a manual file browser sorted by size, type, and last opened |
Store in iCloud wins for raw gigabytes recovered if you have a paid iCloud+ plan. Optimize Storage is the better choice for users who watch a lot of Apple TV content offline and want a fire-and-forget option.
One edge case worth flagging: users of early macOS 26 Tahoe builds reported that the “Store in iCloud” toggles in System Settings appeared enabled even when iCloud Drive was switched off at the Apple ID level. We have not been able to confirm whether later Tahoe point updates fixed this, so treat it as a reason to check rather than a certainty. Either way, the Storage panel does not override the master iCloud switch, so confirm the real state under Apple Menu > System Settings > [Your Name] > iCloud before assuming your files are being offloaded.
how to move iPhone photos to the Mac before offloading to iCloud
What Is System Data on Mac and How Do I Reduce It?
Quick answer: System Data is a catch-all for caches, logs, swap, and Apple Intelligence models; reduce it by clearing ~/Library/Caches, restarting to flush swap, deleting local snapshots, or disabling Apple Intelligence.
System Data (formerly labeled “Other” in macOS Monterey and earlier) is a catch-all category for files that do not fit Apple’s predefined media or document buckets. According to Apple Support (2026), it includes log files, system caches, virtual memory swap files, application support directories, fonts, and temporary runtime resources. In macOS 26 Tahoe specifically, it also absorbs the on-device Apple Intelligence machine learning model files, which permanently occupy several gigabytes and can only be reclaimed by disabling Apple Intelligence entirely under System Settings > Apple Intelligence & Siri (third-party Tahoe storage testing, 2026).
how Apple Intelligence affects storage in different regions
Three factors cause System Data to balloon unexpectedly:
- Virtual memory swap: When physical RAM is exhausted, macOS writes swap files to
/System/Volumes/VM/. Memory-hungry workflows (video editing, large Xcode builds, too many browser tabs) can push this into the tens of gigabytes. A clean restart safely clears swap with zero data loss, and the Memory Pressure graph in Activity Monitor tells you whether swap is the reason the Mac feels slow. - Application caches and support files: Third-party apps dump caches, node modules, and proprietary libraries into
~/Library/Cachesand~/Library/Application Support. APFS classifies all of it as System Data. - Document versions (.DocumentRevisions-V100): The hidden
.DocumentRevisions-V100folder indefinitely retains old iterations of user documents to power the native Revert To feature. According to the Eclectic Light Co. (August 2022), this folder can consume a substantial amount of space and is rarely purged automatically.
Users frequently report System Data ballooning past 50 GB and causing system freezes, with the storage bar offering no actionable path to reduce it. The sections below address each cause directly.
How Do APFS Snapshots and Purgeable Space Consume Storage?
Quick answer: APFS snapshots retain deleted file blocks for up to 24 hours, and purgeable space is only cleared by the CacheDelete daemon; clear snapshots manually using tmutil and force purgeable cleanup with a disk-filling trick.
APFS local snapshots are point-in-time disk state records that macOS creates automatically during Time Machine backups and major system updates. They are entirely invisible in Finder. When you delete a large file and empty the Trash, the physical disk blocks are not freed if a snapshot still references them. According to Apple’s APFS documentation and corroborating reports (Apple Stack Exchange, 2020), snapshots preserve deleted file blocks for up to 24 hours before automatic expiry.
To manually clear local snapshots and reclaim space immediately:
- Open Terminal.
- Run
tmutil listlocalsnapshots /to see all local snapshots with their date-time stamps. - Delete a specific snapshot:
sudo tmutil deletelocalsnapshots [YYYY-MM-DD-HHMMSS](replace the bracket text with the actual timestamp from step 2). - To delete all local snapshots at once, run the command from step 3 for each listed snapshot, or use
tmutil thinlocalsnapshots / [bytes_to_free] 4to force the system to prune snapshots until a specific byte threshold is freed.
The only consequence of deleting local snapshots is losing the ability to roll back to that specific hour’s disk state until the next Time Machine backup to external media runs. On a machine without an external Time Machine drive, this is essentially zero risk.
Why You Cannot Simply Force a Purgeable Space Purge
The CacheDelete daemon (the deleted process) manages purgeable space, and it only runs a full sweep when a system process asks for storage at a high urgency level, which macOS reserves for near-full disk conditions. There is no button, and no supported command, that tells it to run now.
You will find advice on forums recommending that you force it by writing a huge dummy file of zeroes with dd until the disk reports “No space left on device”, then deleting the dummy file. It does work, and it is worth understanding why we are not printing the steps: it requires you to deliberately fill your startup disk to completely full while macOS is running. Anything else writing to disk at that moment, including apps with unsaved work and macOS itself, hits the same wall. Apple has never documented the thresholds involved, so there is no way to predict how far the sweep goes before you get your space back.
Do the reliable things instead. Deleting local snapshots with tmutil (above) frees real blocks immediately. Restarting clears virtual memory swap. Emptying the Trash and then waiting a few hours lets macOS reclaim purgeable space on its own schedule under normal disk pressure. If those do not get you where you need to be, the space is not purgeable and something is genuinely occupying it, so go back to the du audit and find it.
How to Safely Delete Caches, Logs, and Hidden Junk on Mac?
Quick answer: Focus on ~/Library/Caches, ~/Downloads, and iOS backups in ~/Library/Application Support/MobileSync/Backup; never delete system directories or the Caches folder itself.
Manual deletion of hidden directories is the most effective way to reduce System Data without a paid iCloud subscription. The following table maps the most productive targets, their typical size ranges, and the honest risk of removing them.
| Directory | Typical Size | How to Check | Risk | What Happens After Deletion |
|---|---|---|---|---|
~/Library/Caches | 2 GB to 20+ GB | Finder: Cmd+Shift+G, type path, Cmd+I | Low | Apps rebuild caches on next launch; temporary slowdowns |
~/Downloads | 5 GB to 100+ GB | Finder > Downloads, sort by Size | Low | Permanent deletion of installers, ZIPs, PDFs; check first |
~/Library/Containers/com.apple.mail/Data/Library/Mail Downloads | 1 GB to 20 GB | Terminal: du -sh [path] | Low | Attachments re-download from mail server when message is opened |
~/Library/Application Support/MobileSync/Backup (iOS backups) | 5 GB to 150+ GB | System Settings > Storage > iOS Files | Medium | Erases local iPhone/iPad backup history; cannot restore from deleted backup |
| Local Time Machine snapshots | 5 GB to 30+ GB | tmutil listlocalsnapshots / | Low | Lose point-in-time rollback until next external TM backup |
/System/Volumes/VM/ (swap) | 2 GB to 20+ GB | Terminal: sudo du -sh /System/Volumes/VM/ | Do not delete manually | Restart the Mac to clear swap safely |
For ~/Library/Caches, delete the contents of the folder, not the folder itself. In Finder, press Cmd+Shift+G, type ~/Library/Caches, select all files inside with Cmd+A, and move them to Trash. Do not delete the Caches folder root.
Never touch /System/Library/, /usr/, or /private/var/db/ unless you are running a specific, documented Terminal command. System Integrity Protection (SIP) blocks most accidental writes to system directories, but some paths remain writable and can cause kernel panics if cleared.
properly uninstalling Mac apps to remove leftover support files
How to Offload Media, Backups, and Large Files to Free Space?
Quick answer: Move Photos Library and large files to external SSD; delete old iOS backups from Settings; ensure at least 15-20 GB free for macOS updates.
For users without an iCloud+ subscription, external drives remain the most cost-effective way to move large data off the primary SSD. An external SSD is a one-time cost that solves the problem permanently for most home users, and it does not depend on a subscription staying paid.
For iOS device backups specifically, go to System Settings > General > Storage > iOS Files. Each listed backup shows its size and last backup date. Backups for devices you no longer own are safe to delete immediately. For active devices, keep at minimum one recent backup and delete older ones.
Musicians and video editors on 128 GB MacBook models face a specific trap: macOS requires several gigabytes of free space to install system updates, and external drives cannot satisfy that requirement. The update installer checks the internal volume, not external media. So keep a working margin of genuinely free space (not purgeable) on the internal drive, and check it in Disk Utility rather than Finder before you start an update. If you are short, deleting old iOS backups and clearing ~/Library/Caches are the two fastest ways to make room.
For photo libraries specifically, Photos.app can be relocated to an external drive:
- Quit Photos.
- Move the
Photos Library.photoslibraryfile from~/Pictures/to the external drive. - Hold Option and open Photos.
- Select the moved library from the external drive.
- In Photos > Settings > General, set it as the System Photo Library if you want iCloud sync to continue.
transferring iPhone photos to Mac before managing your library
What macOS 26 Tahoe Changes for Storage Management?
Quick answer: Storage settings now at System Settings > General > Storage; Apple Intelligence models permanently use several GB and can only be removed by disabling the feature.
macOS 26 Tahoe introduces two storage-relevant changes beyond the UI path update. First, the Liquid Glass redesign moves storage management exclusively to Apple Menu > System Settings > General > Storage, and the old About This Mac route no longer exists (Apple Support, 2026). Muscle memory from macOS Sequoia and earlier will send you to the wrong place.
Second, and more consequential for space-constrained machines, Tahoe grafts Personalization Features Kit (PFK) volumes and AI cryptexes directly onto the Data volume to support Apple Intelligence (Eclectic Light Co., June 2025). These on-device models permanently occupy several gigabytes. Unlike a cache, they do not rebuild after deletion; disabling Apple Intelligence entirely under System Settings > Apple Intelligence & Siri is the only way to reclaim that storage. For users on a 256 GB MacBook Air who enabled Apple Intelligence during setup, this is a meaningful chunk of a constrained drive.
what future macOS versions may change about Apple Intelligence storage overhead
Everything else, including APFS snapshot behavior, the CacheDelete daemon, the purgeable space calculation, and the tmutil command set, remains functionally identical to macOS 15 Sequoia.
When Should I Use Third-Party Mac Cleaners, and When to Avoid Them?
Quick answer: Use cleaners for visualization and duplicate detection only; avoid any that claim registry cleaning or RAM boosting, as macOS manages both automatically.
Third-party Mac cleaners occupy a contested space between genuine utility and marketing exaggeration. The honest assessment: for the specific tasks covered in this guide, built-in tools plus Terminal handle everything a cleaner does, at zero cost. Where cleaners add real value is in visualization (interactive treemaps of folder sizes), automation of repetitive cache-clearing tasks, and detecting duplicate files across large media libraries. If you want the full comparison, including what each paid suite actually costs and which ones attach auto-renewing charges at checkout, see our guide to choosing a Mac cleaner.
Avoid any application that advertises “registry cleaning” for macOS. macOS has no registry. Any app making that claim is either mislabeled or dishonest. Similarly, apps that promise to “speed up” your Mac by freeing RAM are performing a cosmetic trick: macOS manages RAM pressure automatically and aggressively, and forcing RAM to appear “free” by terminating background processes typically slows subsequent app launches.
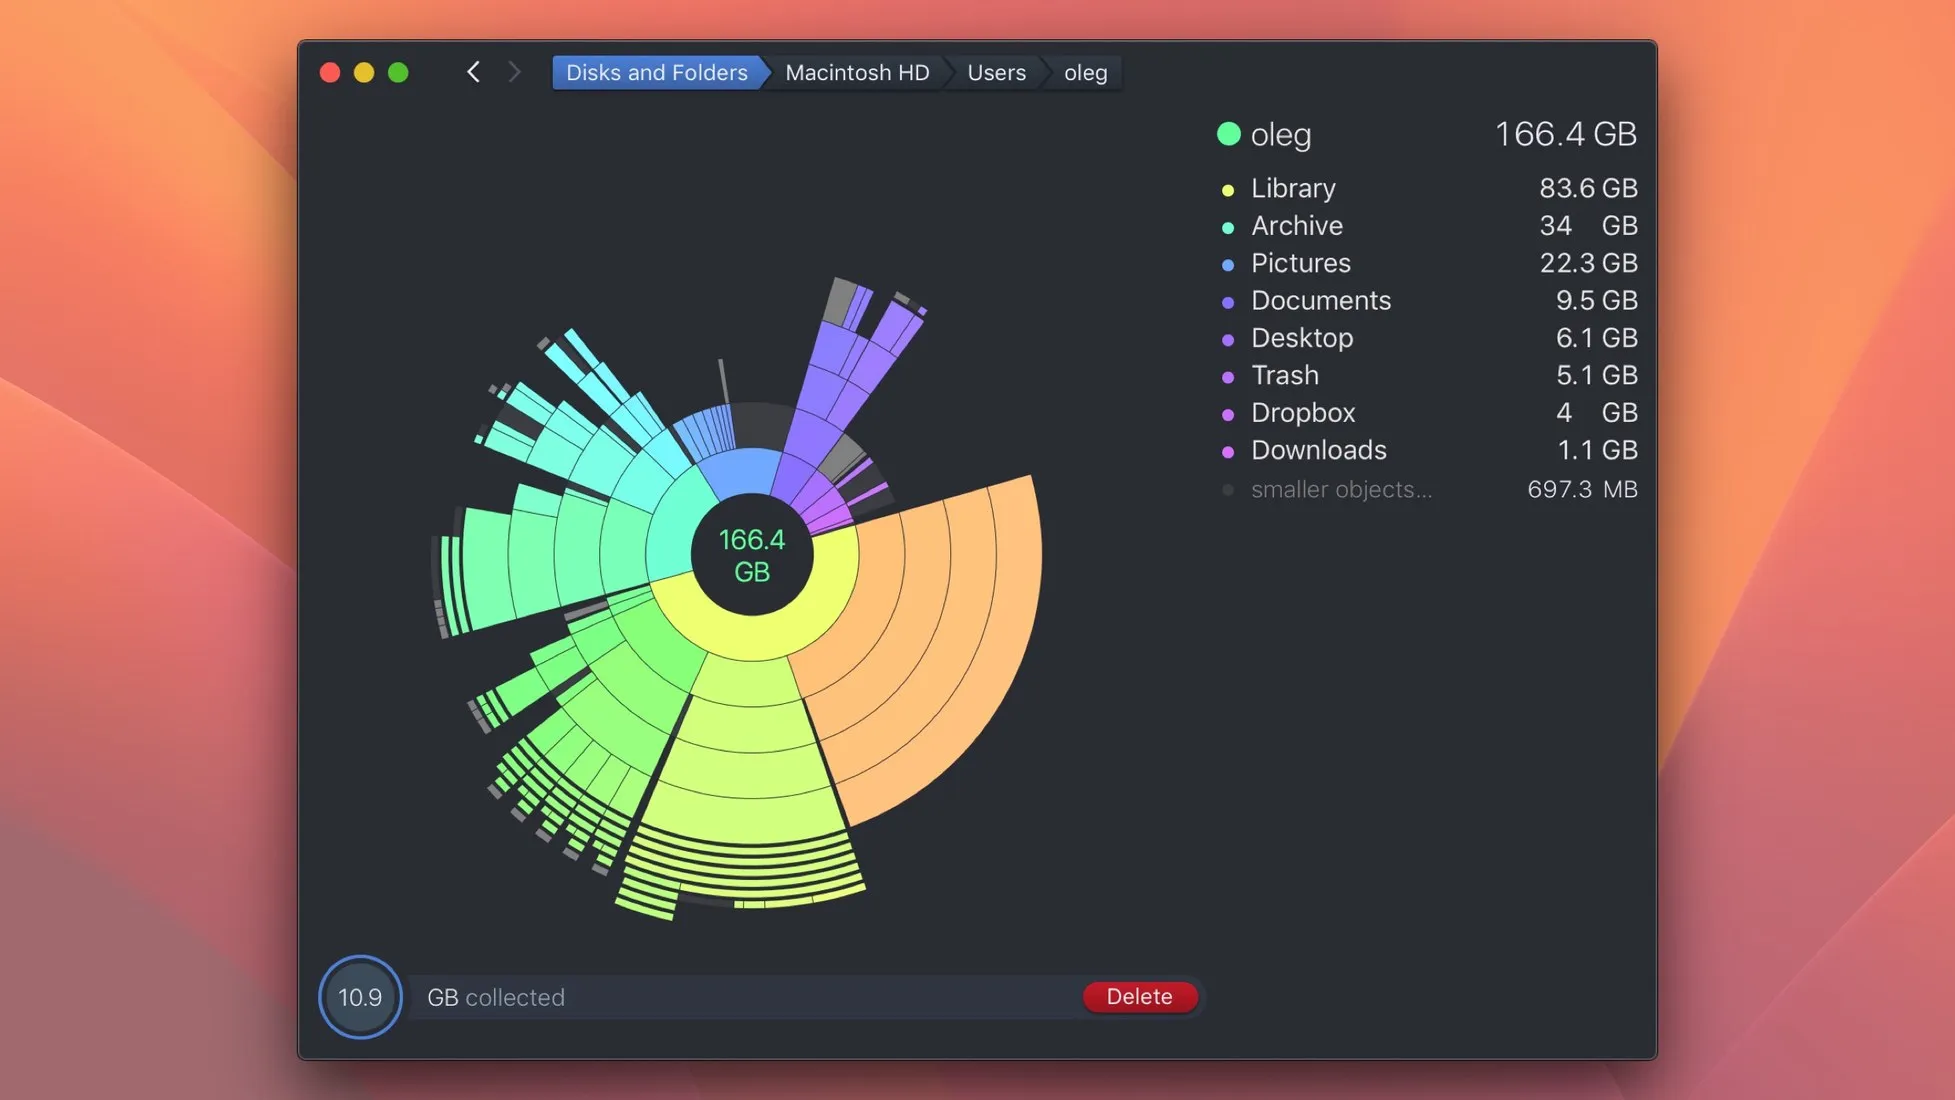
For disk visualization specifically, free tools like DiskDiag or the built-in Storage panel’s “i” icons cover most use cases. Paid options like DaisyDisk (a one-time purchase, no subscription) offer more granular treemap views that are genuinely faster than clicking through Finder for users with complex folder structures.
free Mac resource monitors that show real-time storage and RAM pressure
Frequently Asked Questions
Why does my Mac show no extra free space after I delete files?
Deleting files does not immediately reclaim physical disk blocks on APFS. Local Time Machine snapshots preserve those blocks for up to 24 hours, and Finder’s ‘Available’ figure already includes purgeable space that macOS has not yet cleared. Open Disk Utility, select the APFS Container (not the volume), and read the true free space there. To force reclamation, delete local snapshots using ‘tmutil deletelocalsnapshots’ in Terminal.
What is System Data on Mac and how do I reduce it?
System Data is a catch-all category in macOS storage settings covering caches, virtual memory swap files, log files, app support directories, and, on macOS 26 Tahoe, on-device Apple Intelligence model files. The safest reductions come from clearing ~/Library/Caches, restarting to flush VM swap, and deleting local Time Machine snapshots. Apple Intelligence model storage can only be reclaimed by disabling the feature entirely in System Settings.
Is it safe to delete files in ~/Library/Caches?
Yes, deleting the contents of ~/Library/Caches (not the folder itself) is low-risk. Applications regenerate their caches on the next launch, which causes temporary CPU spikes and slower initial load times. You should never delete the ~/Library/Caches folder itself, only the files and subfolders inside it.
How much space can Store in iCloud actually free up?
Third-party testing puts the range at roughly 50 GB to upwards of 200 GB, achieved by offloading Desktop, Documents, Photos, and Messages attachments to iCloud Drive. The actual figure depends entirely on your library sizes and your paid iCloud+ storage tier. Users without a paid tier will see little to no benefit since the free 5 GB iCloud allotment fills almost immediately.
Do I need a third-party Mac cleaner app to free up disk space?
For most users, the combination of Apple’s built-in Storage tools, manual cache deletion, and Terminal commands for snapshots covers the majority of recoverable space. Third-party cleaners add value primarily for scanning hidden directories, visualizing folder trees, and automating repetitive tasks. Avoid any app that claims to ‘speed up’ your Mac through registry-style cleaning, because macOS has no registry, and such claims are marketing noise.
Recommended reading
PDF Editors for Mac: What They Cost, and What Preview Already Does
What a Mac PDF editor really costs in 2026. Preview's exact limits, why every App Store listing says Free, and which tools are subscription, buy-once, or genuinely free.
Mac Cleaner Apps in 2026: What Each One Costs and Removes
Mac cleaner apps in 2026 compared on price and on what they actually delete: the macOS built-in tools, free apps like OnyX and Mole, and the paid suites, including the checkout terms.
Mac Activity Monitor: How to Read CPU, Memory Pressure and Energy Impact
Learn to read Mac Activity Monitor like a pro: CPU, Memory Pressure, Energy Impact, and which processes are safe to quit in macOS 26 Tahoe.