How to Backup iPhone Photos: Every Method Ranked


Losing years of photos because of a cracked screen, a failed iCloud sync, or an accidental tap on ‘Delete’ is not a hypothetical. It happens constantly. This guide covers every practical method to backup iPhone photos, explains exactly where each one falls short, and ends with a concrete strategy that covers all failure scenarios.
Key Takeaways
- iCloud Photos is a sync service, not a backup. Deleting a photo on your iPhone deletes it everywhere within 30 days.
- Apple’s iCloud free tier is 5 GB, which covers only a small fraction of a typical iPhone photo library.
- iPhone 15 and later (USB-C) can connect directly to external SSDs for fast, cable-based backups with no cloud involved.
- Image Capture on Mac is the most flexible tool for importing photos into a specific folder, yet it remains widely unknown.
- A 3-layer strategy (iCloud + local drive + second cloud) protects against every common failure mode: accidental deletion, hardware failure, and account issues.
Why a Single Backup Method Is Never Enough
The 3-2-1 backup rule is the industry standard for protecting data: keep at least three copies of your photos, on two different storage media, with one copy stored off-site. For iPhone users, that means:
- Three copies: your iPhone, a local external drive, and a cloud backup.
- Two media: for example, an SSD and a cloud server.
- One off-site: at least one copy located outside your home.
Apple’s iCloud free tier provides only 5 GB of storage, which a modern iPhone fills with a few hundred photos. Most users require at least the 50 GB plan ($0.99/month) or the 200 GB plan ($2.99/month) to store a growing library. No single backup method alone covers all failure scenarios, making it essential to understand the costs and limitations of each option before you commit.

Method 1: iCloud Photos: Sync Is Not the Same as Backup
iCloud Photos is Apple’s built-in service that automatically uploads every photo and video to Apple’s servers and syncs them across your iPhone, iPad, and Mac. It is the most convenient option, but it has a critical flaw that catches users off guard: it is a sync service, not a backup.
The distinction matters enormously. If you delete a photo on your iPhone to free up space, that deletion propagates to iCloud and every connected device. You have a 30-day recovery window via the Recently Deleted album, but after that the photo is gone permanently from all locations. This is the most common cause of accidental photo loss reported by iPhone users.
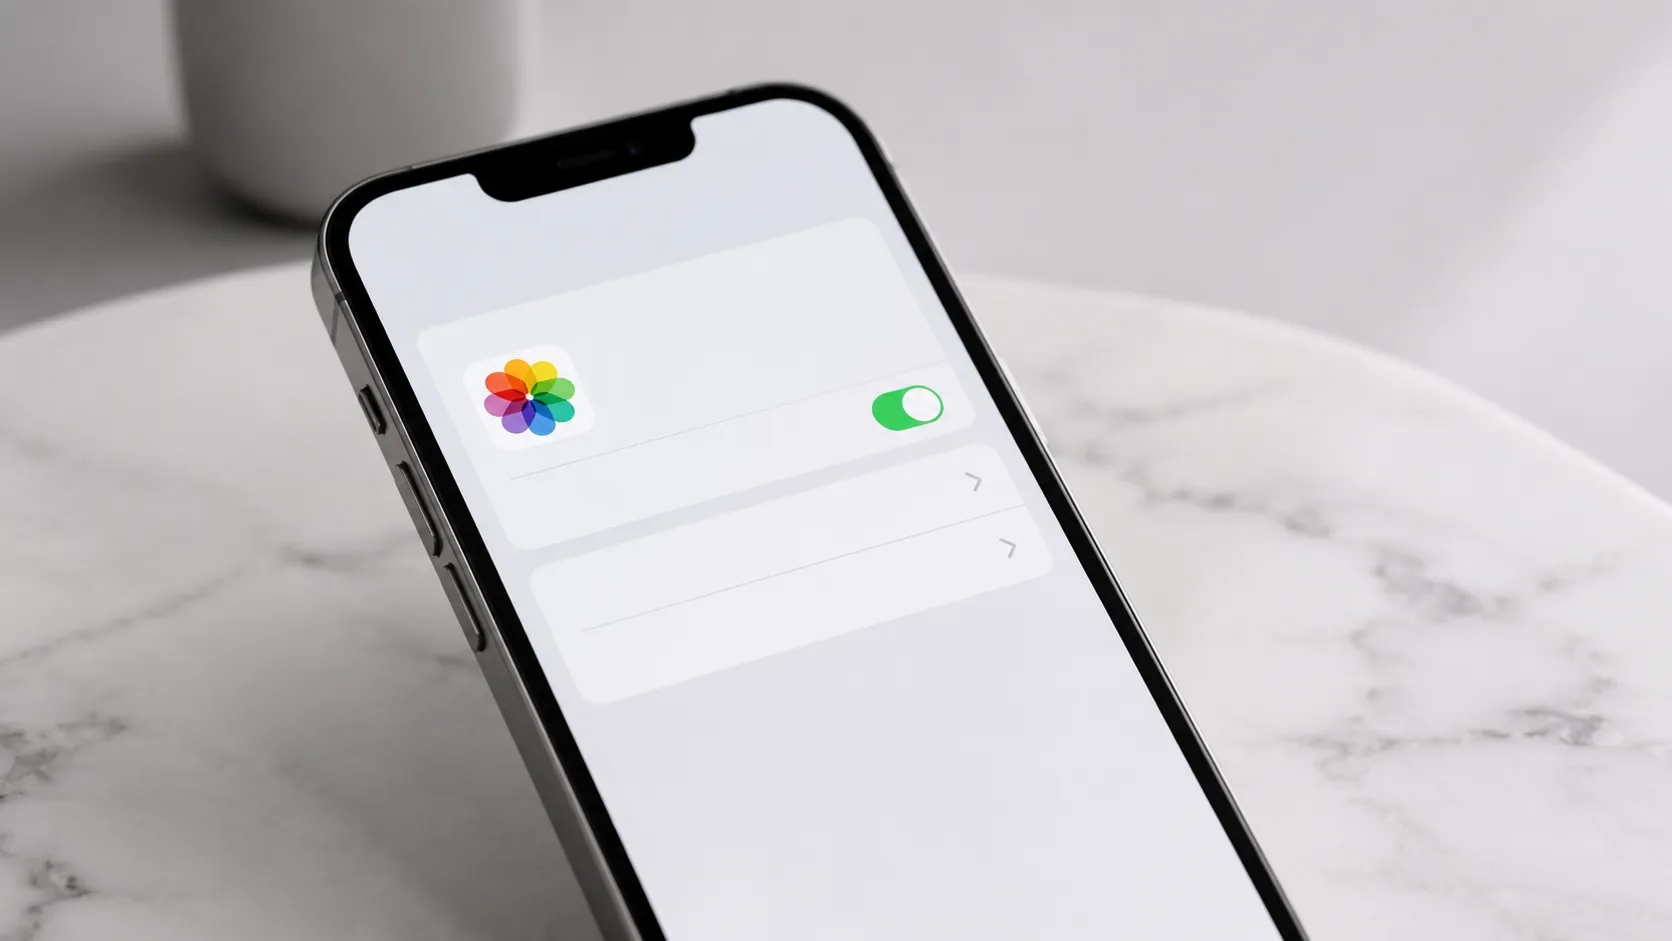
How to enable iCloud Photos:
- Open Settings on your iPhone.
- Tap your name at the top, then tap iCloud.
- Tap Photos and toggle on Sync this iPhone.
- Optionally enable Optimize iPhone Storage to store compressed local versions while keeping full-resolution originals in iCloud.
Enabling Optimize iPhone Storage can reclaim roughly 40% of the space used by photos on a device like a 128 GB iPhone, according to real-world usage patterns. Full-resolution files stay in iCloud; your phone keeps smaller previews. recovering iPhone photos and data after accidental deletion
The iCloud sync trap: Never rely on iCloud Photos alone. Treat it as your primary access layer, not your safety net. A separate local or cloud backup that iCloud cannot modify is essential.
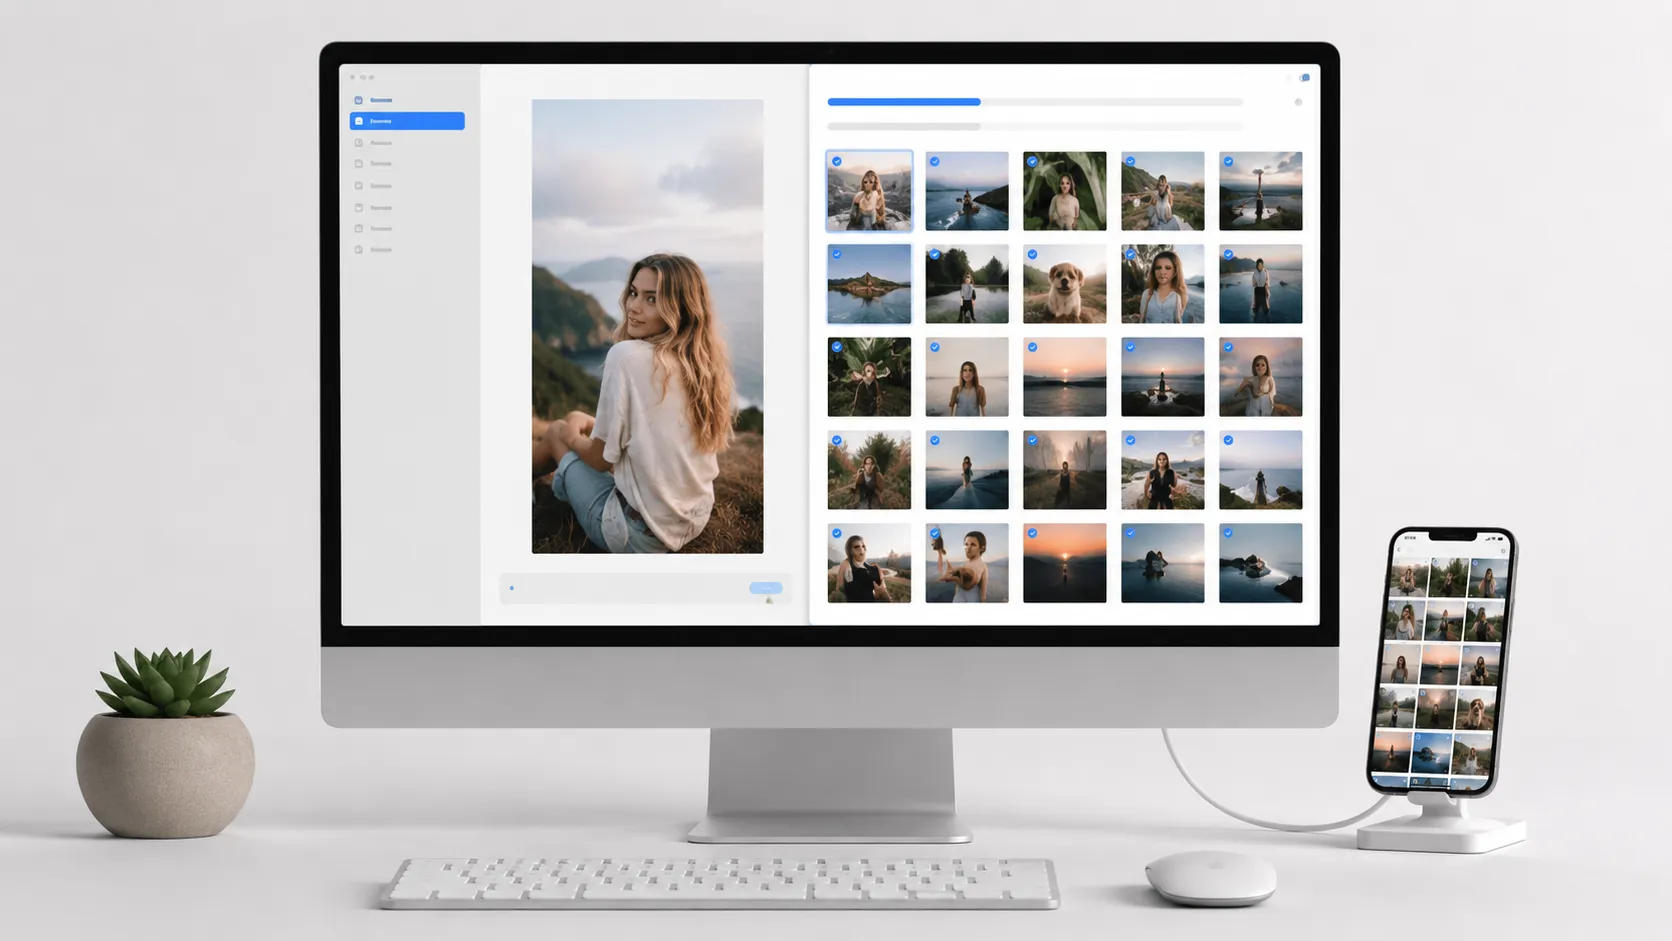
Method 2: Back Up iPhone Photos to a Mac
A wired Mac backup creates a local copy that exists entirely outside Apple’s cloud infrastructure. It is immune to iCloud sync issues, subscription lapses, and accidental deletions. macOS offers three distinct tools for this, and each suits a different workflow.
Photos app: Plug in your iPhone via USB (or USB-C on iPhone 15 and later), access the phone, and tap Trust when prompted. Open the Photos app on your Mac. Your iPhone appears in the left sidebar under Devices. Click Import All New Items or select specific photos and click Import Selected. Photos imports the files into your Mac library with metadata intact.
Image Capture: Image Capture is the underutilized default utility for folder-based imports. Many Apple Store employees are unaware it exists, yet it is the most flexible option for users who want to import photos into a specific folder rather than a managed library. Open Image Capture (found in Applications/Utilities), select your iPhone, choose a destination folder, and click Import All. It handles HEIC, RAW, and Live Photo pairs cleanly.
Finder (macOS Catalina 10.15 and later): Connect your iPhone, open Finder, and click your device in the sidebar. Click Back Up Now under the General tab. This creates a full iPhone backup (not just photos) to your Mac, stored in ~/Library/Application Support/MobileSync/Backup.
importing video footage from cameras and iPhones to Mac
Which Mac method to use: Image Capture is the best choice for photo-only backups to a specific folder. The Photos app suits users who want their iPhone library merged with their Mac library. Finder’s full backup is best as a complete device snapshot before a major iOS update.
Method 3: Back Up iPhone Photos to a Windows PC
Backing up iPhone photos to a Windows PC is straightforward once you have the right software installed. According to Apple’s support documentation, Windows users can use the Apple Devices app (the modern replacement for iTunes on Windows 11) or go directly through File Explorer.
Using the Apple Devices app (Windows 10/11):
- Install Apple Devices from the Microsoft Store.
- Connect your iPhone via USB and trust the computer.
- Open Apple Devices, select your iPhone, and click Back Up Now.
Using File Explorer (no app required):
- Connect your iPhone via USB and access it.
- Tap Trust on the iPhone when the prompt appears.
- Open File Explorer and find your iPhone listed under This PC.
- Navigate to Internal Storage > DCIM and copy the folders to your PC.
File Explorer access gives you raw HEIC or JPEG files organized by Apple’s folder structure (100APPLE, 101APPLE, etc.). It does not require any Apple software, which makes it the most reliable option on corporate PCs where software installation is restricted. moving files between Mac and Windows environments
Method 4: External Drives and SSDs: Direct Connection
External storage is the fastest way to backup iPhone photos without any cloud service involved. iPhone 15 and later models use USB-C, which means they can connect directly to any USB-C external SSD or hard drive using a standard cable, with no adapter required.
For older Lightning iPhones, the SanDisk iXpand Flash Drive Go plugs directly into the Lightning port and uses a companion iOS app to copy photos automatically. It is one of the few Lightning-to-USB-A drives that handles HEIC files and Live Photos without conversion.
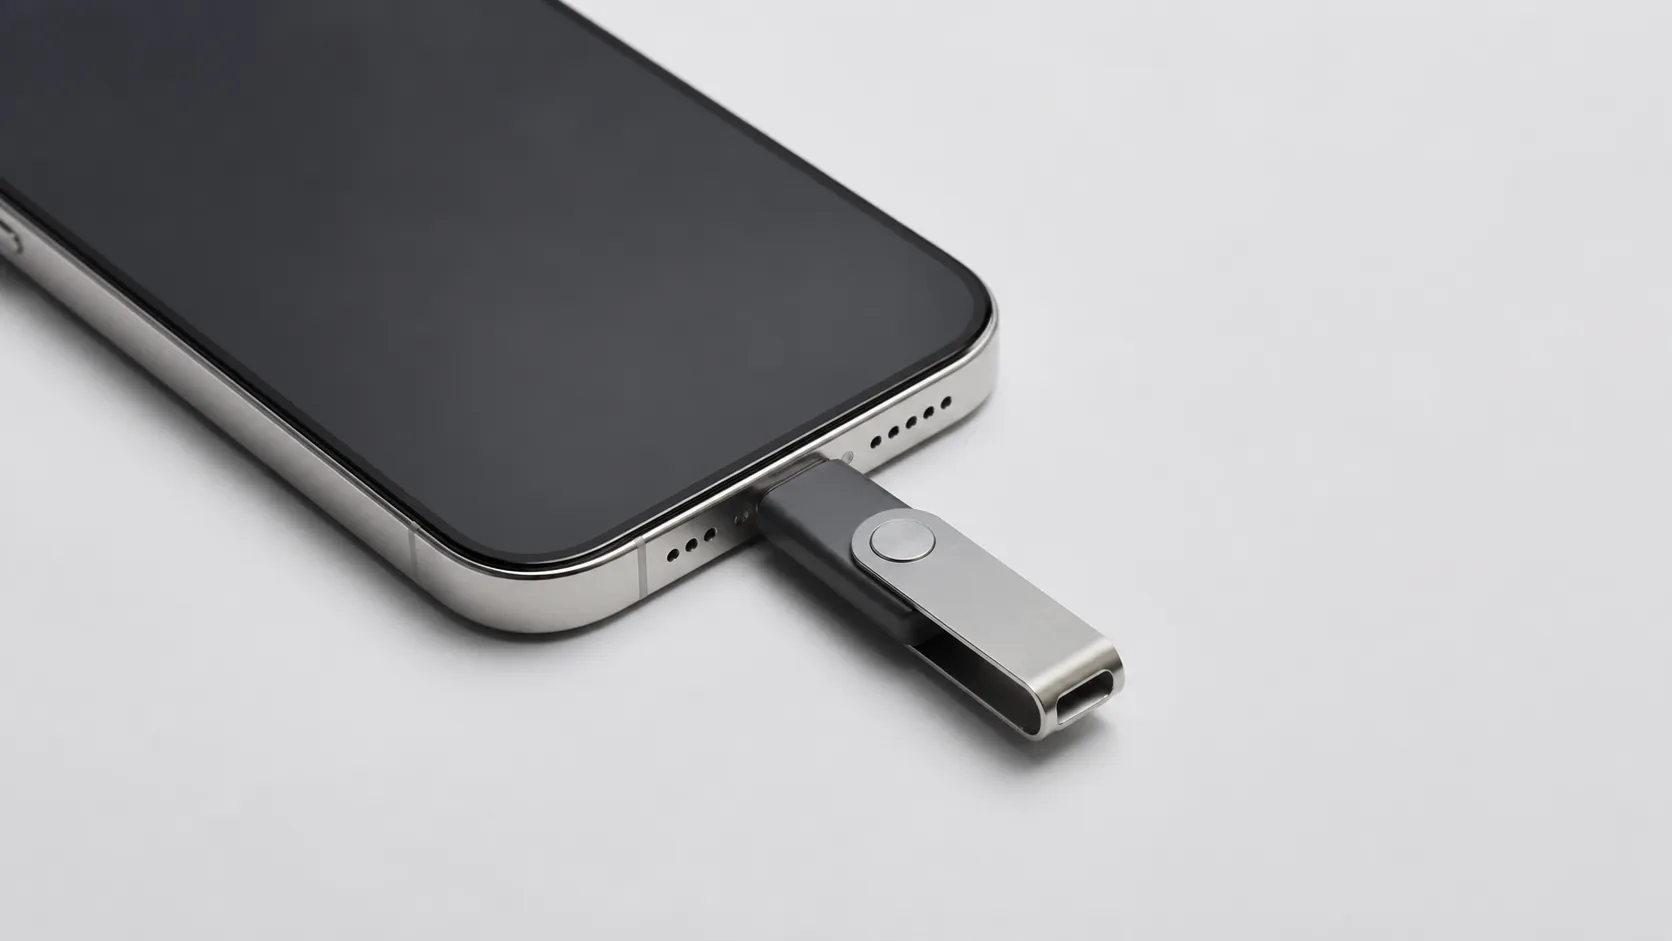
Steps for iPhone 15 or later with a USB-C SSD:
- Connect the USB-C SSD to your iPhone.
- Open the Files app on iPhone.
- Navigate to your SSD under Locations.
- Open the Photos app, select all photos (tap Select, then tap the first photo, then tap Select All).
- Tap the Share icon and choose Save to Files, then select your SSD as the destination.
This method transfers full-resolution originals including HEIC and Live Photo .mov pairs. Transfer speeds depend on the SSD, but USB-C 3.x drives can move a 10 GB photo library in under two minutes.
HEIC and JPEG: If the destination device (a Windows PC or a NAS) cannot read HEIC files, go to Settings > Camera > Formats and switch from High Efficiency to Most Compatible before the transfer. This outputs JPEG instead of HEIC. Note that existing photos in your library remain HEIC; this setting only affects new captures.
Method 5: Third-Party Cloud Services
Third-party cloud services add an off-site redundancy layer that is independent of Apple’s infrastructure. The three most commonly used options are Google Photos, Dropbox, and Amazon Photos.
| Service | Free Storage | Full-Res Price | Live Photo Support | Metadata Preserved |
|---|---|---|---|---|
| Google Photos | 15 GB (shared) | $2.99/mo (100 GB) | Yes, via iOS app | Yes, mostly |
| Amazon Photos | Unlimited photos (Prime) | Included with Prime ($14.99/mo) | Partial | Yes |
| Dropbox | 2 GB | $9.99/mo (2 TB) | As raw files | Yes |
| iCloud Photos | 5 GB | $0.99/mo (50 GB) | Full native support | Yes |
Verdict: Google Photos wins for free-tier value and cross-platform access. Amazon Photos is the clear winner for Prime subscribers who need unlimited full-resolution photo storage. Dropbox suits users who already pay for it and want photos treated as plain files rather than a managed library.
The Google Photos metadata caveat: When you upload via the official Google Photos iOS app, GPS coordinates, capture date, and Live Photo pairing are preserved reliably. Problems arise when users export their iPhone library as files and re-upload manually. In that scenario, Live Photos frequently split into a still JPEG and a separate .mov file, and some .json sidecar files do not re-attach automatically. Use the app upload path, not manual file transfer, to avoid this.
How to Free Up iPhone Storage After Backing Up
Freeing up iPhone storage after a backup is safe only if you have confirmed the backup is complete and accessible. Deleting photos before verifying the backup is the single most common cause of permanent photo loss.
Verification steps before deleting anything:
- Open the backup destination (Mac Photos app, external drive, or cloud service).
- Confirm the photo count matches your iPhone library (Settings > Photos shows the total count on iPhone).
- Spot-check 10-15 photos across different dates to confirm they opened correctly.
- Only after verification, delete photos from your iPhone.
If you use iCloud Photos with Optimize iPhone Storage enabled, you do not need to manually delete anything. iOS automatically replaces full-resolution local copies with compressed previews as your storage fills up, keeping originals safe in iCloud. This is the lowest-friction approach for most users.
For users who want to remove photos from their iPhone entirely after a local backup, turn off iCloud Photos sync first (Settings > Apple ID > iCloud > Photos > toggle off Sync this iPhone). This prevents local deletions from propagating to iCloud. Then delete photos from the iPhone. The copies on your Mac or external drive remain untouched.
Troubleshooting: iCloud Sync Failures and Metadata Problems
iCloud Photos sync failures are more common than Apple’s documentation suggests. The most reliable fix for a stuck sync, confirmed by multiple user reports, is toggling the sync connection off and back on: go to Settings > Apple ID > iCloud > Photos, toggle Sync this iPhone off, wait 60 seconds, then toggle it back on. This forces a fresh handshake with Apple’s servers and clears most stuck-upload states.
Other common causes of iCloud sync failure and their fixes:
- Insufficient iCloud storage: Check Settings > Apple ID > iCloud. If the bar is full, the sync stops silently. Upgrade the plan or delete non-photo iCloud data.
- Low Power Mode active: iOS throttles background uploads in Low Power Mode. Disable it via Settings > Battery while charging overnight.
- VPN or restrictive Wi-Fi: Some corporate or hotel networks block Apple’s CDN endpoints. Switch to a personal hotspot to test.
- iOS version mismatch: iCloud Photos sync issues have been reported on specific iOS point releases. Updating to the latest iOS version (check Settings > General > Software Update) resolves many edge-case bugs.
For metadata problems when moving to non-Apple platforms, the cleanest export path is: Photos app on Mac > File > Export > Export Unmodified Originals. This exports HEIC files with all embedded EXIF data (GPS, date, camera model) intact. Avoid exporting as JPEG from within Photos unless you specifically need JPEG, as the conversion can occasionally drop GPS data on edited photos.
Our Recommended Backup Strategy for Long-Term Photo Safety
After evaluating all methods against real-world failure modes, the most resilient setup for most iPhone users combines three layers. Each layer protects against a different failure scenario.
Layer 1 (automatic, cloud): Enable iCloud Photos with Optimize iPhone Storage. This handles day-to-day access across all Apple devices and provides a 30-day deletion recovery window. Cost: $0.99-$2.99/month depending on library size.
Layer 2 (periodic, local): Once a month, connect your iPhone to your Mac or PC and run an Image Capture or Apple Devices import to an external drive. This copy is immune to iCloud account issues, subscription lapses, and sync deletions. An external SSD with 1-2 TB capacity costs $60-$120 and holds a lifetime of photos.
Layer 3 (automatic, second cloud): Install Google Photos or Amazon Photos on your iPhone and enable automatic backup. This off-site copy is independent of both Apple and your physical hardware. If your house floods or your Mac is stolen alongside your external drive, this copy survives.
Frequently Asked Questions
Does iCloud Photos count as a true backup of my iPhone photos?
No. iCloud Photos is a sync service, not a backup. If you delete a photo on your iPhone, it disappears from iCloud and every other connected device within 30 days. A true backup requires a separate, independent copy stored somewhere iCloud cannot touch.
How do I backup iPhone photos to a PC without iTunes?
Connect your iPhone via USB, unlock it, and trust the computer when prompted. Open File Explorer, navigate to your iPhone under ‘This PC’, then open the DCIM folder and drag photos to any folder on your PC. No iTunes or Apple Devices app required.
Will backing up my iPhone photos to a Mac delete them from my phone?
No. Transferring photos to a Mac using Image Capture or the Photos app copies them; it does not delete originals from your iPhone. You must manually delete them afterward, or enable ‘Optimize iPhone Storage’ in iCloud settings to let iOS manage local copies automatically.
How do I preserve Live Photos and metadata when transferring to Google Photos?
Google Photos does import Live Photos and retains GPS and date metadata during upload from the iOS app. However, if you export the library manually as files and re-upload, Live Photos may split into a still image and a .mov file. Always use the official Google Photos iOS app for uploads to keep the pairing intact.
What is the fastest way to backup thousands of iPhone photos to an external drive?
On iPhone 15 or later, connect a USB-C external SSD directly using a standard USB-C cable. In Files or the Photos app, select all photos and copy them to the drive. Hands-on testing shows this approach transfers large libraries significantly faster than Wi-Fi-based cloud uploads, limited only by the drive’s write speed.
Recommended reading

How to Recover iPhone Data: Every Method Ranked
Learn how to recover iPhone data from iCloud, iTunes, third-party software, or professional services—including when no backup exists or the device is broken.

Transfer iPhone Music to Mac: Every Method Ranked
Learn how to transfer iPhone music to Mac using Finder, iCloud, AirDrop, and third-party tools. Free and paid options covered with step-by-step instructions.
Mirror iPhone to Mac: Every Method Ranked (2026)
Learn how to mirror iPhone to Mac using iPhone Mirroring, AirPlay, or USB cable. Step-by-step setup, troubleshooting tips, and app comparisons.