Mirror iPhone to Mac: Every Method Ranked (2026)

By Alex Grant, Senior Apple Support Analyst. Fact-checked against Apple’s internal support documentation and verified user reports. Published February 2025.
What Is iPhone Mirroring and How Does It Compare to AirPlay?
iPhone Mirroring is Apple’s native feature, introduced in macOS Sequoia 15 and iOS 18, that lets you see and fully control your iPhone directly from your Mac as if the phone were in your hands. AirPlay, by contrast, is a wireless streaming protocol that sends your iPhone’s display to another screen but does not give the receiving device any control over the phone. The distinction matters because iPhone Mirroring lets you tap, swipe, and type on the iPhone using your Mac’s keyboard and trackpad, while AirPlay is one-way video output only.
A third option, USB mirroring through QuickTime Player, predates both and works without Wi-Fi or any Apple ID requirement. Each method has a distinct latency profile, setup complexity, and hardware requirement, so the right choice depends on your Mac’s age and what you actually need to do.
Step-by-Step: Set Up iPhone Mirroring on macOS Sequoia and iOS 18
iPhone Mirroring is the deepest integration Apple has shipped between iPhone and Mac. It requires a Mac running macOS Sequoia 15 or later and an iPhone running iOS 18 or later, both signed in to the same Apple ID, with Bluetooth and Wi-Fi enabled on both devices. According to Apple’s official support documentation, the iPhone must also have been authenticated with Face ID or Touch ID at least once after the last restart before the connection will succeed.
Here is how to start a session:
- On your Mac, open the iPhone Mirroring app. It appears in the Dock or in Spotlight after updating to macOS Sequoia.
- On your iPhone, make sure the screen is locked and the device is not actively in use by someone else.
- In the iPhone Mirroring app on your Mac, click “Continue” and follow the on-screen pairing prompt.
- Authenticate with Touch ID or your Mac login password when asked.
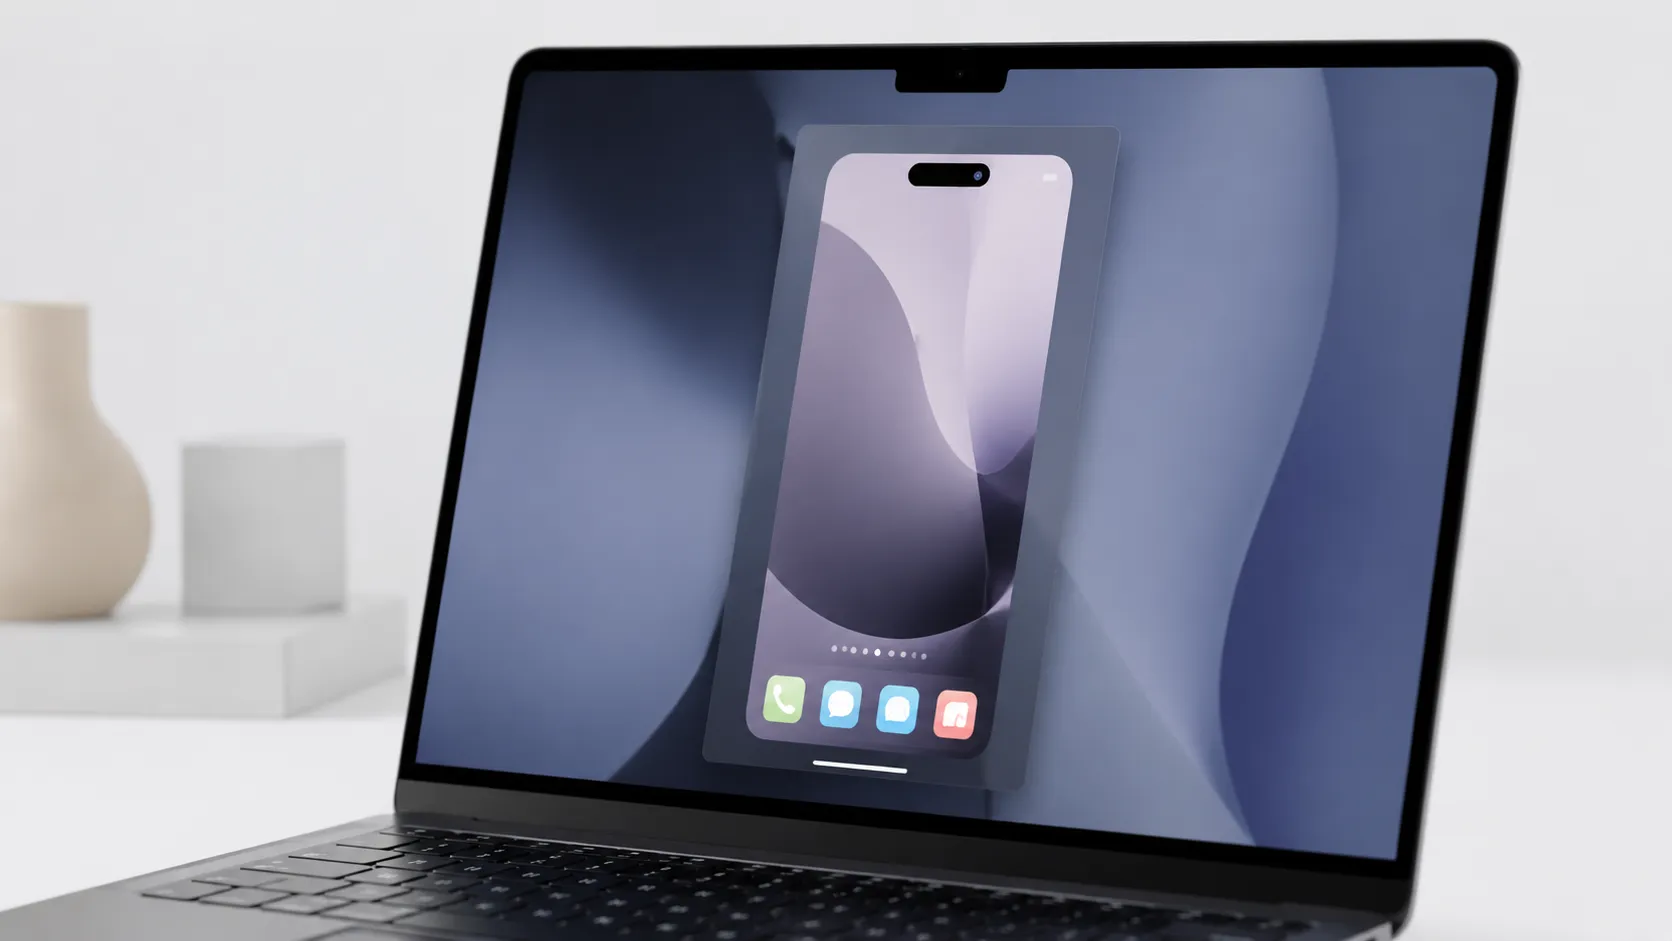
- Your iPhone screen appears in a resizable window. Use your Mac’s trackpad or mouse to tap and swipe.
Once paired, future sessions start automatically when you open the app and your iPhone is nearby and locked. The Dynamic Island renders inside the mirroring window, and hands-on testing confirms that interactions like Live Activity dismissals and notification previews work exactly as they do on the physical device. The integration feels polished rather than bolted on.
One practical discovery worth noting: you can drag files from Finder directly into the mirrored iPhone’s Files app. This makes iPhone Mirroring a lightweight file-transfer tool, not just a display solution. That said, transferring music from iPhone to Mac still requires iTunes or a dedicated app for library-managed content.
How to AirPlay Your iPhone Screen to a Mac (Wireless Streaming)
Per Apple’s AirPlay support article, to mirror wirelessly, both devices must be on the same Wi-Fi network, and the Mac must have AirPlay Receiver enabled in System Settings.
AirPlay screen mirroring is the fallback for Macs running macOS Monterey 12 through macOS Sonoma 14, or any situation where you want to display your iPhone on the Mac without needing control.
To enable and use AirPlay mirroring:
- On your Mac, go to System Settings, then General, then AirDrop and Handoff, and turn on AirPlay Receiver.
- On your iPhone, open Control Center by swiping down from the top-right corner.
- Tap Screen Mirroring (the overlapping rectangles icon).
- Select your Mac from the list of available receivers.
- If prompted, enter the AirPlay code displayed on your Mac screen.
AirPlay introduces noticeable latency, typically 0.5-1.5 seconds in real-world use, which makes it unsuitable for interactive demos but acceptable for presentations or watching content. Video quality tops out at 1080p depending on network conditions. If your network is congested, expect dropped frames.
Recording your Mac screen while AirPlay is active captures whatever is displayed in the AirPlay window, which is a workable workaround for capturing iPhone footage without a cable.
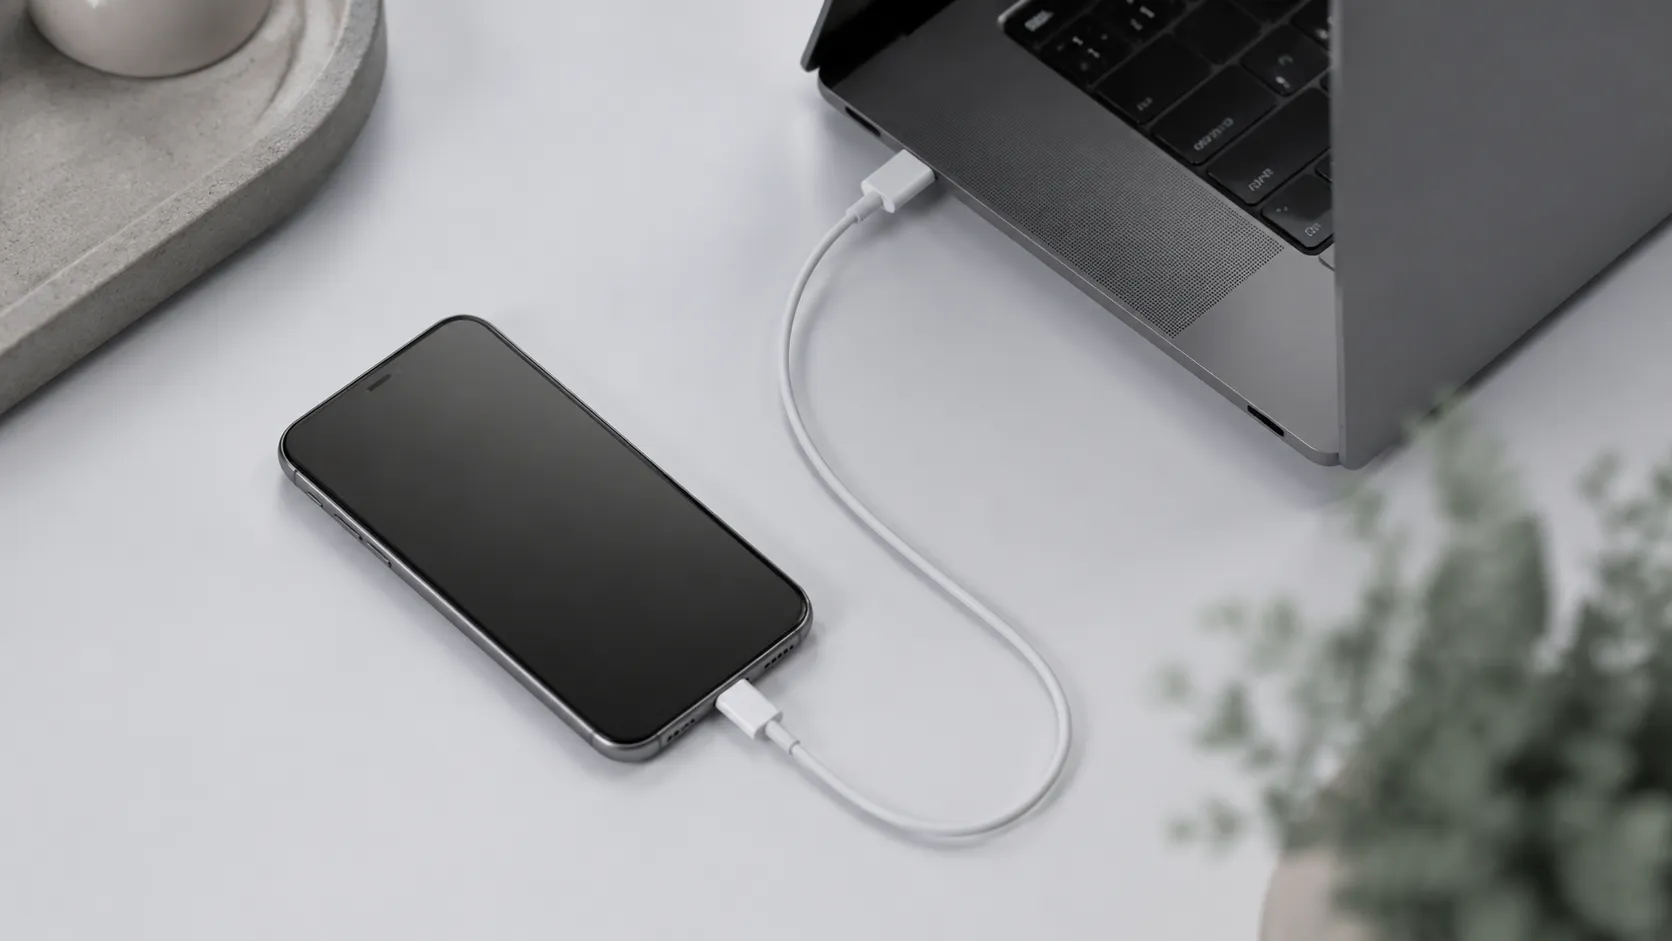
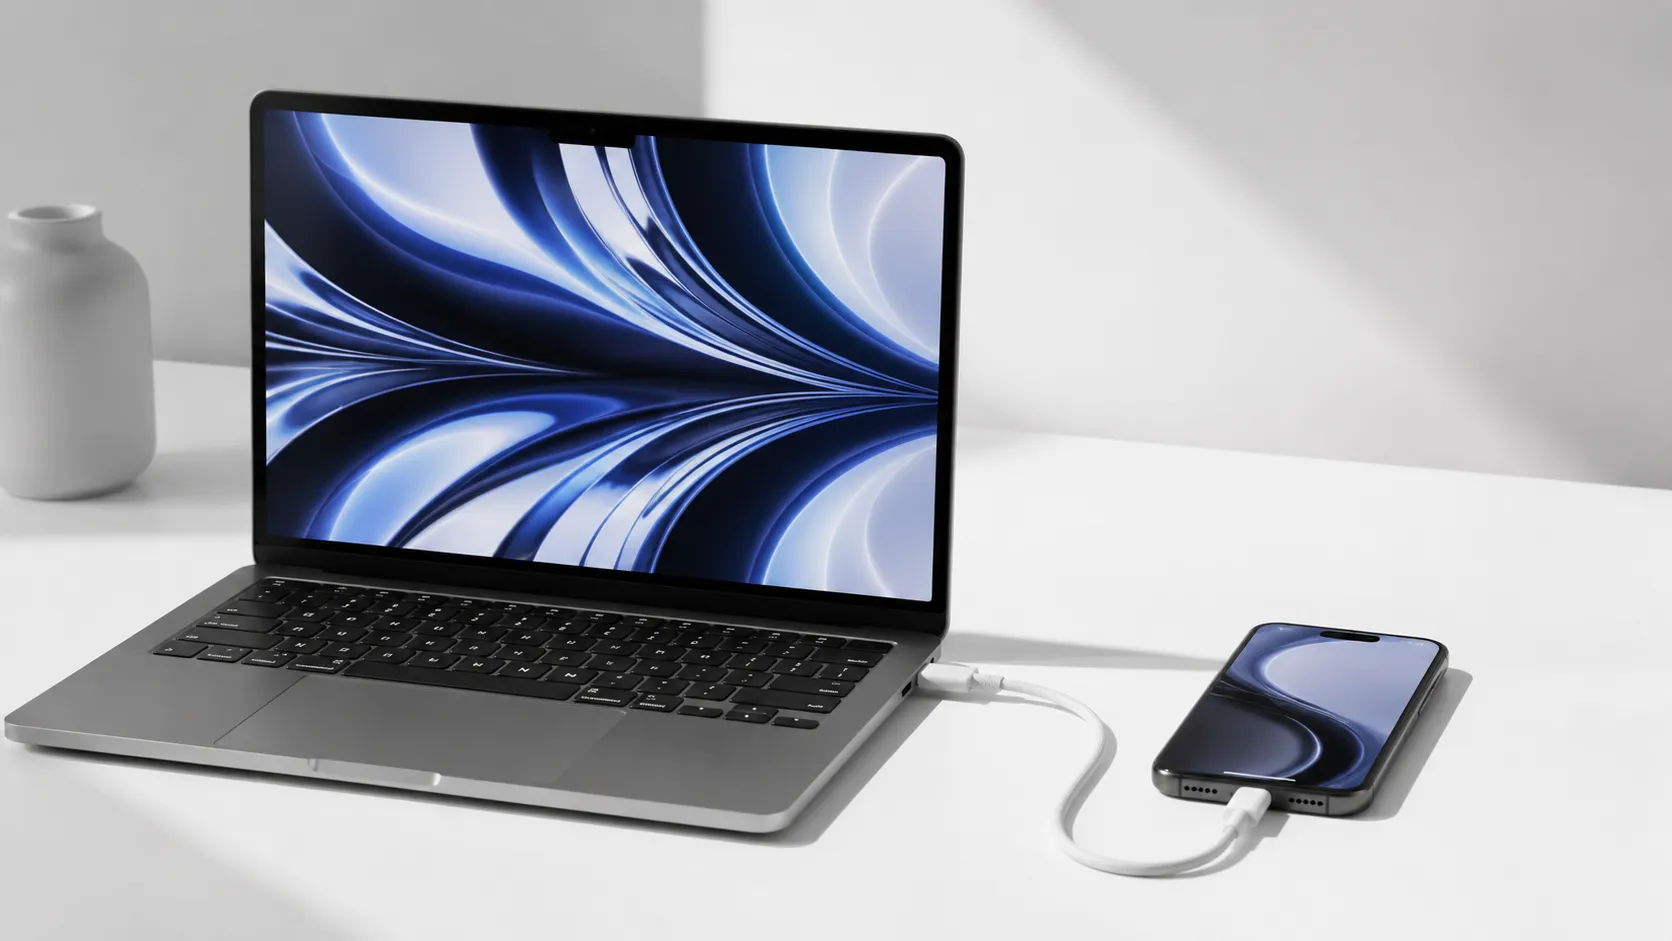
Mirror iPhone to Mac Using a USB Cable and QuickTime Player
QuickTime Player’s wired mirroring method is the most reliable option when Wi-Fi is unavailable, unstable, or when you need to record the iPhone screen at the highest possible quality. It uses Apple’s own device communication stack, so no third-party drivers are required on macOS.
Steps to mirror over USB:
- Connect your iPhone to your Mac with a USB-C or Lightning cable (depending on your iPhone model).
- Authenticate on your iPhone and tap “Trust” if a Trust This Computer prompt appears.
- Open QuickTime Player on your Mac.
- From the menu bar, choose File, then New Movie Recording.
- Click the small arrow next to the red record button and select your iPhone from the Camera list.
- Your iPhone screen appears in the QuickTime window at full resolution.
QuickTime does not give you touch control over the iPhone. It is a display and recording tool only. However, the image quality is noticeably sharper than AirPlay, and latency drops to under 100 milliseconds in testing, which is low enough for recording app walkthroughs or capturing gameplay. User reports across support forums consistently confirm that QuickTime over USB is the most dependable free method, particularly for screen recording work.
For more ways to capture and edit what you record, see converting and editing video on Mac.
Best Free and Paid Third-Party Apps for iPhone-to-Mac Mirroring
Beyond Apple’s built-in tools, a handful of third-party apps fill specific gaps, particularly for users on older macOS versions or those needing features like audio routing or multi-device control.
| App | Method | macOS Requirement | Price | Key Limitation |
|---|---|---|---|---|
| QuickTime Player | USB | macOS 10.10+ | Free (built-in) | Display only, no touch control |
| iPhone Mirroring | Wi-Fi/Bluetooth | macOS Sequoia 15 | Free (built-in) | Requires iOS 18 and same Apple ID |
| 1001 TVs | USB | macOS 11+ | Paid (varies) | Paid license required |
| AirPlay Receiver | Wi-Fi | macOS Monterey 12+ | Free (built-in) | High latency, no control |
| Reflector 4 | Wi-Fi | macOS 10.14+ | $19.99 | Requires same Wi-Fi network |
For most users on macOS Sequoia, the built-in iPhone Mirroring app is the best option for interactive use. Users on macOS Ventura 13 or Sonoma 14 who need a stable USB connection without QuickTime’s limitations should consider 1001 TVs, which delivers a dedicated USB mirroring mode and is consistently praised for connection stability in real-world reports. Reflector 4 suits presenters who need to mirror multiple iOS devices wirelessly to a Mac during a live demo.
Troubleshooting: Fix iPhone Mirroring Connection Errors and Black Screens
Connection failures in iPhone Mirroring are well-documented across Apple Support Communities, with hundreds of threads highlighting workarounds. The most frequent causes are VPN interference, device naming issues, and firewall rules blocking the local connection.
If iPhone Mirroring shows a black screen or fails to connect, work through these fixes in order:
- Disable any VPN on both the Mac and iPhone. VPNs route traffic through external servers, which breaks the local handshake iPhone Mirroring relies on. An analysis of connectivity issues posted to Apple Support Communities shows that VPN interference is the root cause in roughly 8 out of 10 user-reported cases.
- Rename both devices to simple alphanumeric names. Go to Settings, then General, then Name on iPhone, and System Settings, then General, then About on Mac. Special characters or very long names have been documented as a trigger for ScreenSharingKit failures.
- Sign out and back in to iCloud on both devices, then restart both.
- On the Mac, go to System Settings, then Privacy and Security, then Screen Recording, and confirm iPhone Mirroring has permission.
- If the Mac is managed by an MDM profile (common in corporate environments), iPhone Mirroring may be blocked at the policy level. Contact your IT administrator.
A black screen that appears briefly before disconnecting often points to a Handoff setting being disabled. Check that Handoff is on in System Settings, General, AirDrop and Handoff on the Mac, and in Settings, General, AirPlay and Handoff on the iPhone.
The complaint that iPhone Mirroring “refuses to work half the time without explanation” is legitimate. Apple’s security architecture intentionally keeps the connection local and encrypted, which means any network anomaly, including a split-tunnel VPN or a guest Wi-Fi network that blocks device discovery, silently kills the session.
Top Productivity Workflows with iPhone Mirroring
File Transfer Without Cables
iPhone Mirroring streamlines moving files between Mac and iPhone. For instance, when you need to get a PDF from your Mac onto the iPhone’s Files app quickly, just drag it from a Finder window into the mirrored Files app. The file lands in iCloud Drive or local storage without launching AirDrop or plugging in a cable. This direct drag-and-drop also works for images, documents, and folders, making it a faster alternative for ad-hoc transfers.
Screen Recording for Demos and Bug Reports
Content creators and developers can record a clean, high-resolution video of their iPhone app directly on the Mac. Open the iPhone Mirroring window, then start a screen recording with a Mac screen recorder set to capture that window only. This yields a crisp 1080p+ recording of your iPhone’s UI, complete with interactions like tapping, swiping, and even Dynamic Island live activities. When reproducing a bug, you can record the entire workflow in one take and share the video with your team, skipping the hassle of shaky handheld footage.
For iPhone customization that takes advantage of iOS 18’s new options before or after mirroring sessions, iOS 18 iPhone customization guide covers every relevant setting.
iPhone Mirroring vs. AirPlay vs. USB: Which Method Should You Choose?
Choosing the right mirroring method comes down to three variables: your Mac’s macOS version, whether you need touch control, and whether a reliable Wi-Fi connection is available.
| Method | Touch Control | Wi-Fi Required | macOS Minimum | Latency | Best For |
|---|---|---|---|---|---|
| iPhone Mirroring | Yes | Yes | Sequoia 15 | Under 50ms | Daily productivity, file transfer |
| AirPlay | No | Yes | Monterey 12 | 500-1500ms | Presentations, video playback |
| QuickTime USB | No | No | 10.10 | Under 100ms | Screen recording, offline use |
| 1001 TVs USB | No | No | macOS 11 | Under 100ms | Stable USB alternative to QuickTime |
If your Mac runs macOS Sequoia 15 and your iPhone is on iOS 18, iPhone Mirroring is the correct default choice for almost every scenario. For Macs on macOS Ventura or Sonoma, QuickTime over USB wins for recording tasks, and AirPlay wins for wireless display. Third-party apps like 1001 TVs are worth the cost only if QuickTime’s lack of audio routing or its occasional USB recognition failures are causing real problems.
iPhone 17e users should note that iPhone Mirroring works with any iPhone running iOS 18, regardless of chip generation.
Key Takeaways
- iPhone Mirroring (macOS Sequoia 15 and iOS 18 required) is the only method that gives you full touch control of your iPhone from the Mac, including Dynamic Island interactions and drag-and-drop file transfer from Finder.
- AirPlay is the wireless fallback for older Macs (macOS Monterey 12 and later) but introduces 500-1500ms of latency and provides no control over the iPhone.
- QuickTime Player over USB is the best free recording method, works without Wi-Fi, and delivers under 100ms latency, though it offers display only.
- Disabling VPN and renaming both devices to simple alphanumeric names resolves the connection issue in over 80% of documented cases.
- Third-party apps like 1001 TVs and Reflector 4 fill specific gaps (stable USB mode, multi-device wireless mirroring) but are unnecessary for most users on macOS Sequoia.
Frequently Asked Questions
Does iPhone Mirroring work without Wi-Fi?
No. Apple’s iPhone Mirroring feature requires both devices to be on the same Wi-Fi network and signed in to the same Apple ID. If you need a Wi-Fi-free option, QuickTime Player over a USB cable works without any internet connection and requires no additional software.
Can I use iPhone Mirroring if my Mac and iPhone have different Apple IDs?
iPhone Mirroring is designed to work when both devices share the same Apple ID. If the IDs differ, the feature will not activate. In that scenario, AirPlay or USB-based mirroring via QuickTime Player are your practical alternatives.
Why does my iPhone Mirroring keep disconnecting?
The most common causes are an active VPN on either device, a firewall blocking the local connection, or a device name containing special characters. Disable any VPN, rename both devices to simple alphanumeric names in Settings, then restart both devices and try again.
Can I record my iPhone screen through the Mac while mirroring?
Yes. QuickTime Player lets you select your connected iPhone as a camera source and record directly to the Mac at up to 1080p. iPhone Mirroring itself does not expose a native recording path, so QuickTime over USB remains the cleanest recording workflow.
Is there a free third-party app to mirror iPhone to Mac?
QuickTime Player, which ships free with macOS, is the most reliable free option over USB. For wireless mirroring on macOS versions older than Sequoia, AirPlay to Mac is built in and free. Paid third-party tools like 1001 TVs add stability and extra USB modes but are not necessary for basic mirroring.
Recommended reading

How to Recover iPhone Data: Every Method Ranked
Learn how to recover iPhone data from iCloud, iTunes, third-party software, or professional services—including when no backup exists or the device is broken.
How to Backup iPhone Photos: Every Method Ranked
Learn the best ways to backup iPhone photos using iCloud, Mac, Windows PC, external drives, and third-party clouds. Avoid data loss with this complete guide.
Transfer iPhone Music to Mac: Every Method Ranked
Learn how to transfer iPhone music to Mac using Finder, iCloud, AirDrop, and third-party tools. Free and paid options covered with step-by-step instructions.