How to Convert DVD Video to iPhone on Mac (2026)

What You Need: Hardware and Cables for DVD Ripping on Modern Macs
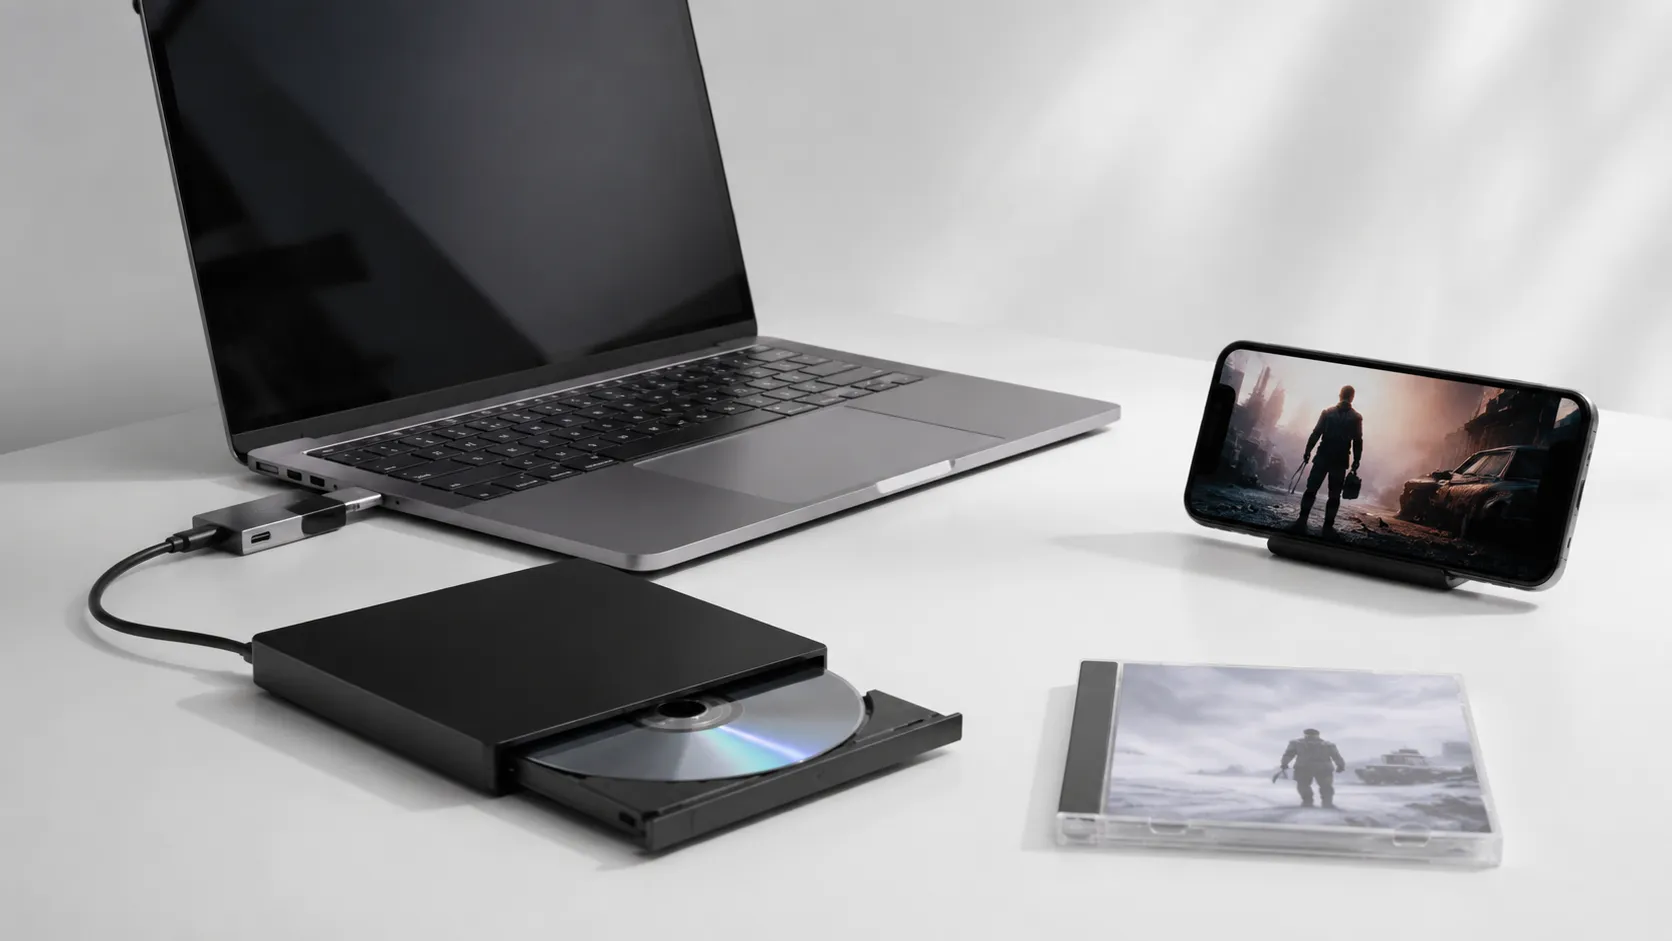
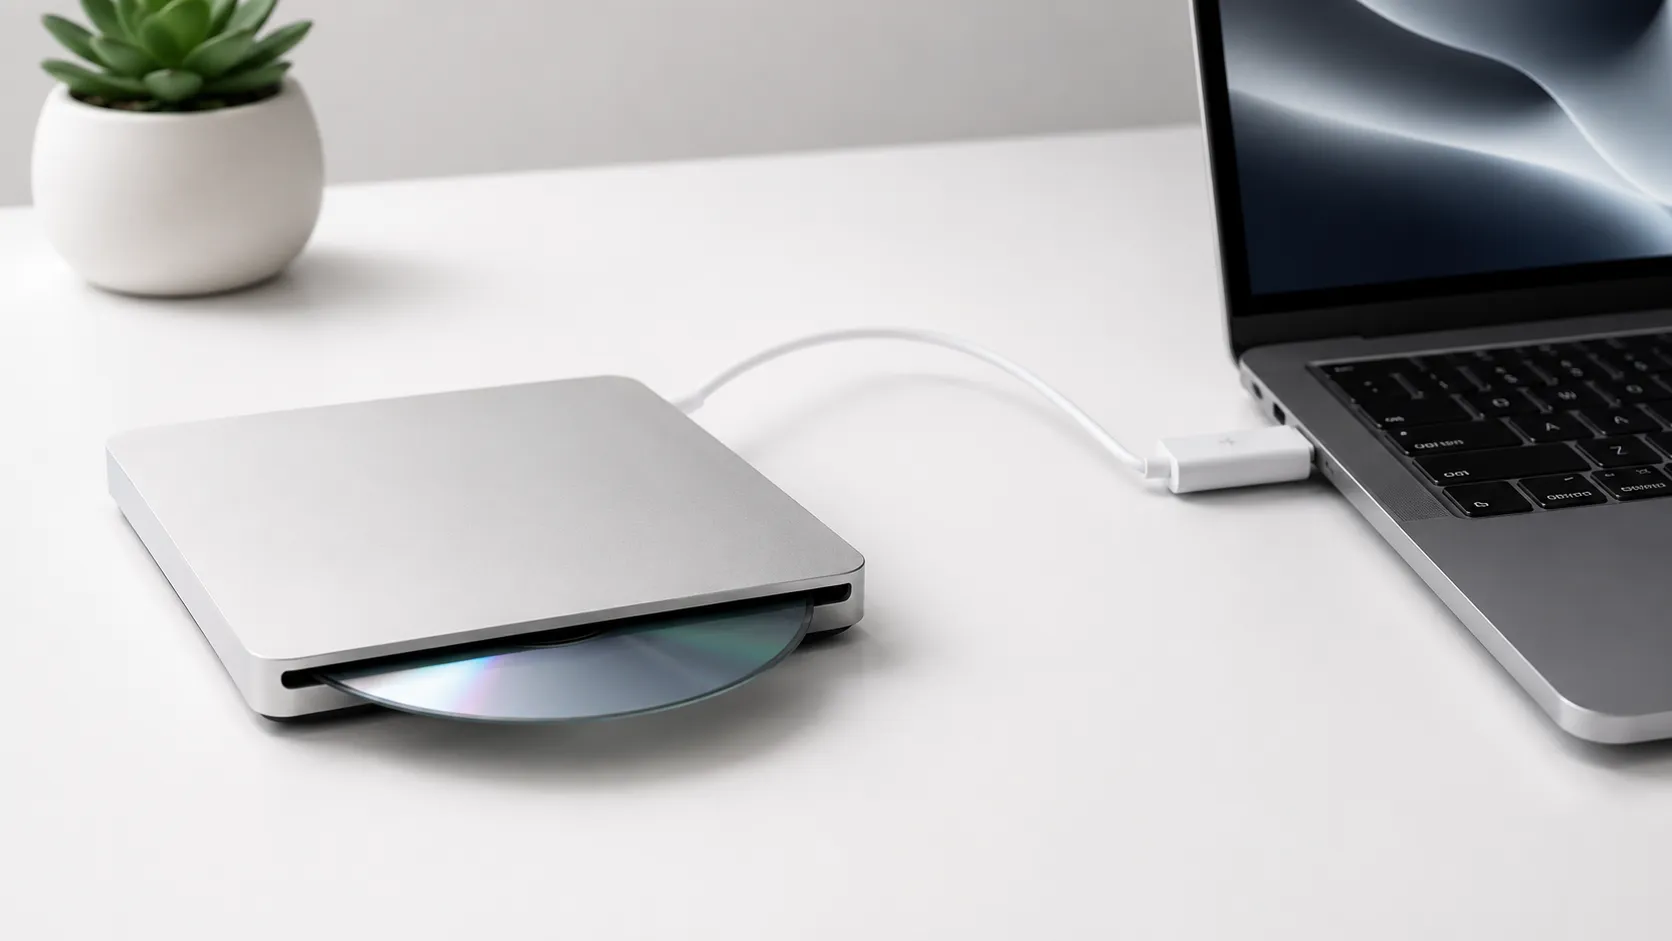
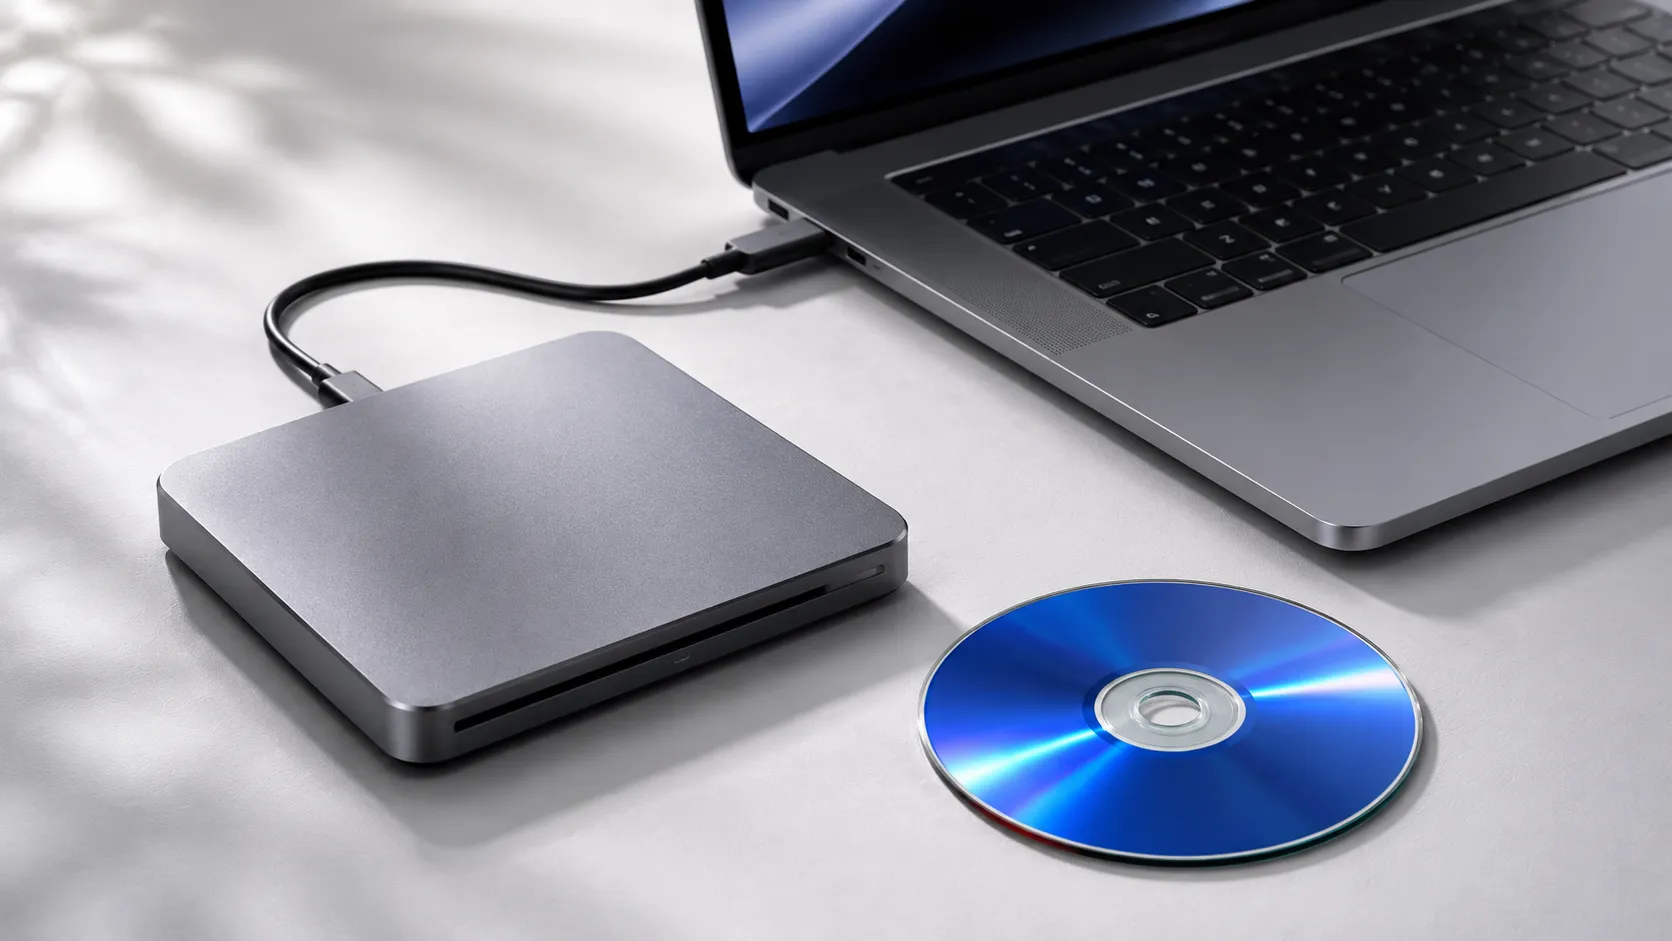
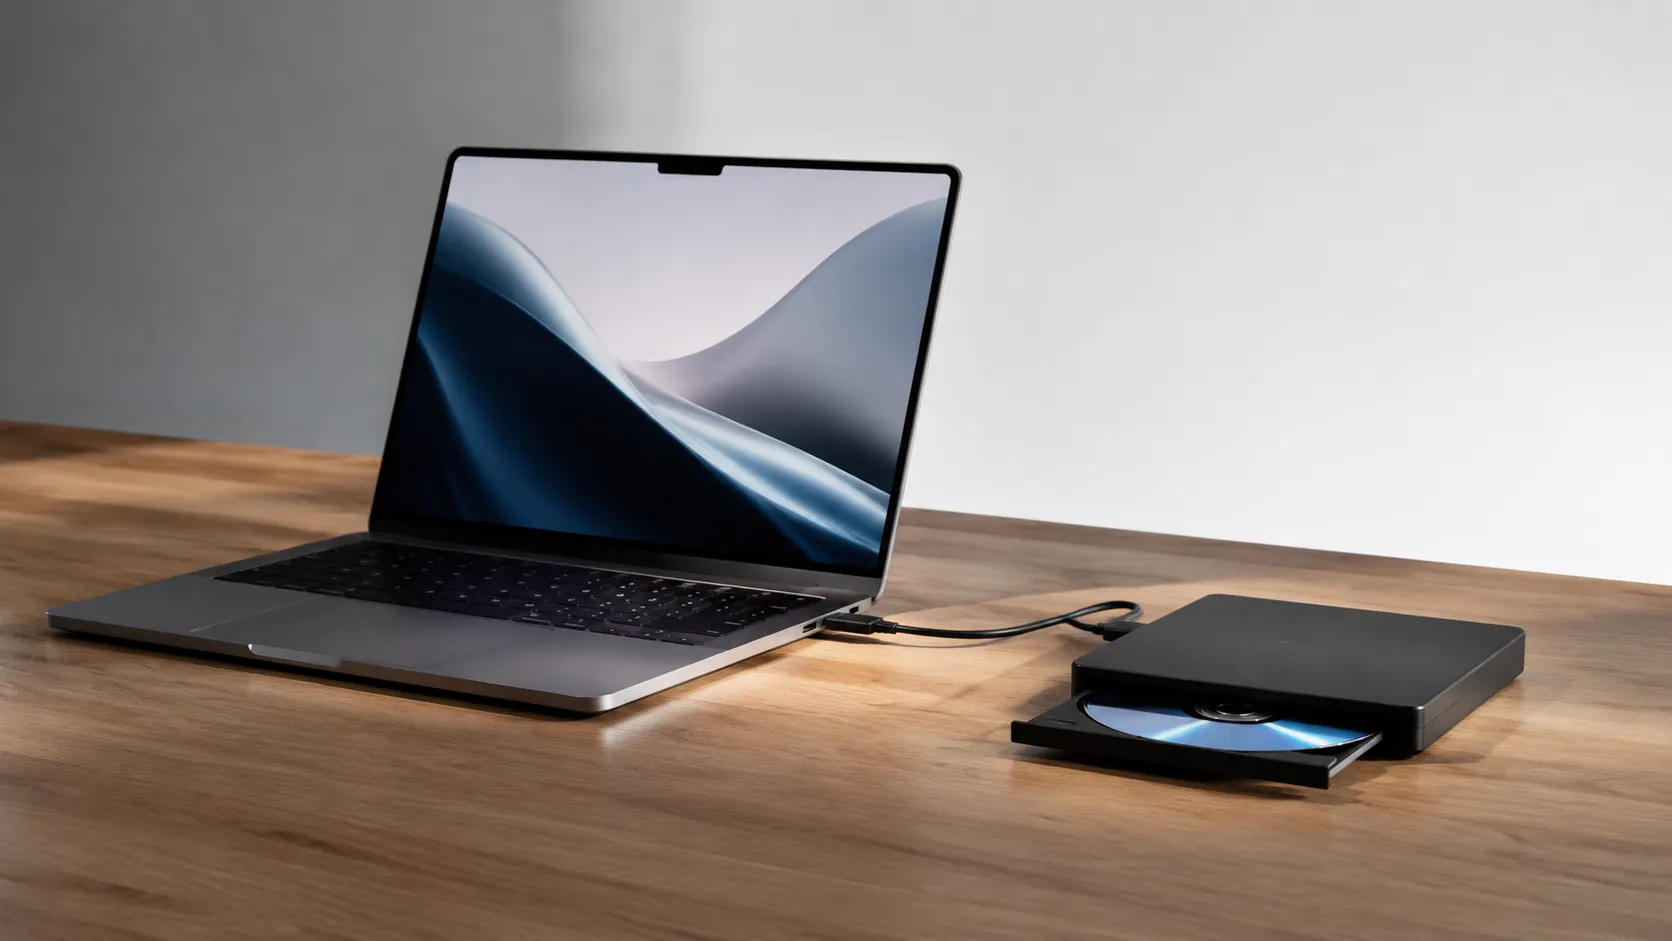
Every Mac sold since 2012 lacks a built-in optical drive, so the first requirement is an external DVD drive. The Apple USB SuperDrive (around $79) is the most recognized option, but it ships with a USB-A connector - a problem on any MacBook Pro or MacBook Air made after 2016, which carry only USB-C/Thunderbolt ports.
For the SuperDrive specifically, a plain passive USB-C to USB-A adapter often fails to supply enough bus power. Hands-on testing and widespread user reports confirm that a powered USB hub is the more reliable solution: plug the hub into a USB-C port, then plug the SuperDrive into the hub’s USB-A port. This also eliminates the Wi-Fi interference some users encounter when the drive is connected directly to the laptop chassis.
Third-party drives from LG or Pioneer (typically $25-$50) use standard USB-A and work through the same powered-hub approach. They also include a manual eject pinhole, which matters: the SuperDrive’s software eject sometimes stops responding, forcing you to right-click the disc in Finder and choose Eject every single time.
Beyond the drive, you need:
- A Mac running macOS Ventura 13 or Sonoma 14 (earlier versions work too, but these are the tested environments).
- At least 10 GB of free disk space per DVD - more for uncompressed ISO backups.
- HandBrake 1.7 or later (free), or a paid ripper if the disc is copy-protected.
- A USB-C to USB-A adapter or powered USB hub if your Mac has no USB-A ports.
How to burn a DVD on Mac covers the reverse workflow if you also need to write discs from your Mac.
Free DVD to iPhone Conversion: HandBrake, VLC, and Disk Utility
Three free tools cover most DVD-to-iPhone scenarios on macOS, each with a distinct role. HandBrake is the workhorse for encoding; VLC handles quick conversions without installing extra software; Disk Utility creates full disc images for archiving.
HandBrake (Recommended for Most Users)
HandBrake is a free, open-source application available at handbrake.fr. Version 1.7 runs natively on Apple Silicon and Intel Macs.
- Insert the DVD and wait for it to mount in Finder.
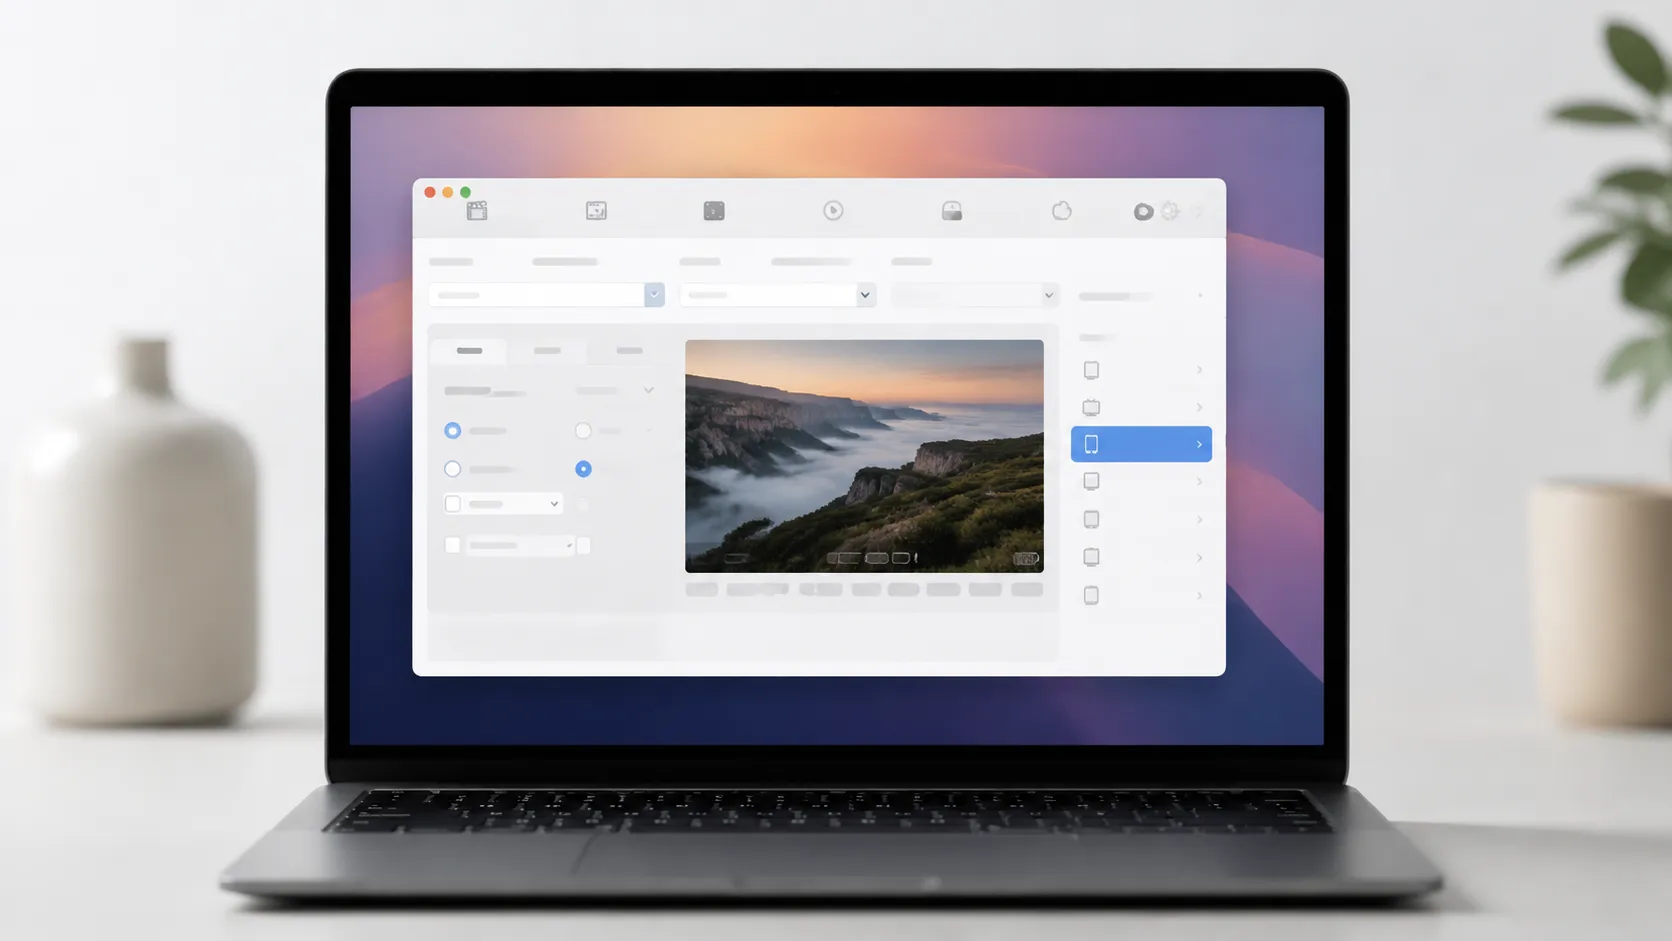
- Open HandBrake. In the Source Selection dialog, click “Open Source” and select the DVD drive (not a folder).
- HandBrake scans all titles. Choose the main movie title - usually the longest one, often 90-120 minutes.
- In the Presets panel on the right, open the “Devices” group and select iPhone & iPod touch or Apple 1080p60 Surround for modern iPhones.
- Click the Subtitles tab if you want burned-in subtitles, select the track, and check “Burned In”.
- Set a destination file name ending in
.mp4. - Click “Start Encode”. On an M2 MacBook Air, a 90-minute DVD encodes in roughly 8-12 minutes using the VideoToolbox hardware encoder.
VLC Media Player
VLC (free at videolan.org) can convert DVD video to MP4 via its built-in Convert/Stream function - no HandBrake required. The output quality is comparable to HandBrake’s Fast preset, with a fixed bitrate that prioritizes speed over file size or detail. This works for casual viewing on a phone screen, but dark scenes often show compression artifacts and color banding.
- Open VLC and go to File > Open Disc, select your DVD drive.
- Instead of playing, go to File > Convert / Stream.
- Choose the DVD source, select “Video - H.264 + MP3 (MP4)” as the profile, set a destination file, and click Go.
VLC is best when HandBrake is unavailable or you need a fast, no-configuration conversion of a home movie DVD.
Disk Utility (ISO/Archive Method)
Disk Utility, built into macOS, can create a DVD/CD Master image (.cdr file) that preserves the full disc structure including menus. This is not a compressed video file - a .cdr image of a dual-layer DVD can be 8 GB. It is useful for archiving before you re-encode. Note that a .cdr file cannot be played directly on an iPhone; you must re-encode it to MP4 using HandBrake or a similar tool before transferring to your device.
How to Rip Copy-Protected DVDs (and the Legal Gray Areas)
To rip copy-protected DVDs on Mac, use WinX DVD Ripper or MacX DVD Ripper Pro for CSS decryption, then encode with HandBrake. These tools handle Content Scramble System (CSS) encryption that HandBrake and VLC cannot bypass on their own on modern macOS. Attempting to open a protected disc in HandBrake typically results in a scan that finds no valid titles.
The legal situation in the United States is ambiguous: the DMCA prohibits circumventing copy protection even for personal backup, while many other countries have personal-use exemptions. Compliance with local law is your responsibility. This article documents how the tools work.
For users who proceed, the two practical options are:
- WinX DVD Ripper ($29.95/yr or $59.95 one-time): handles CSS and region coding, outputs directly to iPhone-optimized MP4. It is the better value among paid tools for most users.
- MacX DVD Ripper Pro ($67.95 one-time or part of a bundle): similar functionality but has documented subtitle rendering issues on widescreen content.
- VLC with libdvdcss: on older macOS versions, installing the libdvdcss library alongside VLC allowed CSS decryption. On macOS Sonoma, this approach is increasingly unreliable due to library path changes.
full guide to ripping a DVD on Mac goes deeper on the libdvdcss installation process for those who want to explore that route.
Optimal Encoding Settings for iPhone Playback
Use H.264 MP4 at 1920x1080 with 3000 kbps video and 160 kbps AAC audio for the best balance on iPhone. The table below breaks down additional options for storage-conscious or archival use.
| Setting | Budget (Storage-Conscious) | Balanced (Default) | High Quality (Archive) |
|---|---|---|---|
| Codec | H.264 | H.264 | H.265 (HEVC) |
| Resolution | 1280x720 | 1920x1080 | 1920x1080 |
| Bitrate (video) | 1,500 kbps | 3,000 kbps | 6,000 kbps |
| Audio | AAC 128 kbps | AAC 160 kbps | AAC 256 kbps |
| Container | MP4 | MP4 | MP4 or MKV |
| Approx. file size (90 min) | 1.1 GB | 2.0 GB | 3.5 GB |
The Balanced preset is the right starting point for most iPhones. H.265 cuts file size by roughly 40% compared to H.264 at equivalent quality, but encoding is slower on Intel Macs. Apple Silicon Macs handle H.265 encoding via the media engine with minimal performance penalty.
All iPhones from iPhone 7 onward support H.265 hardware decoding. For iPhones older than the iPhone 7, stick to H.264 to avoid choppy playback.
broader Mac video conversion and editing tools if you want to do more than just rip - trimming chapters or merging episodes, for example.
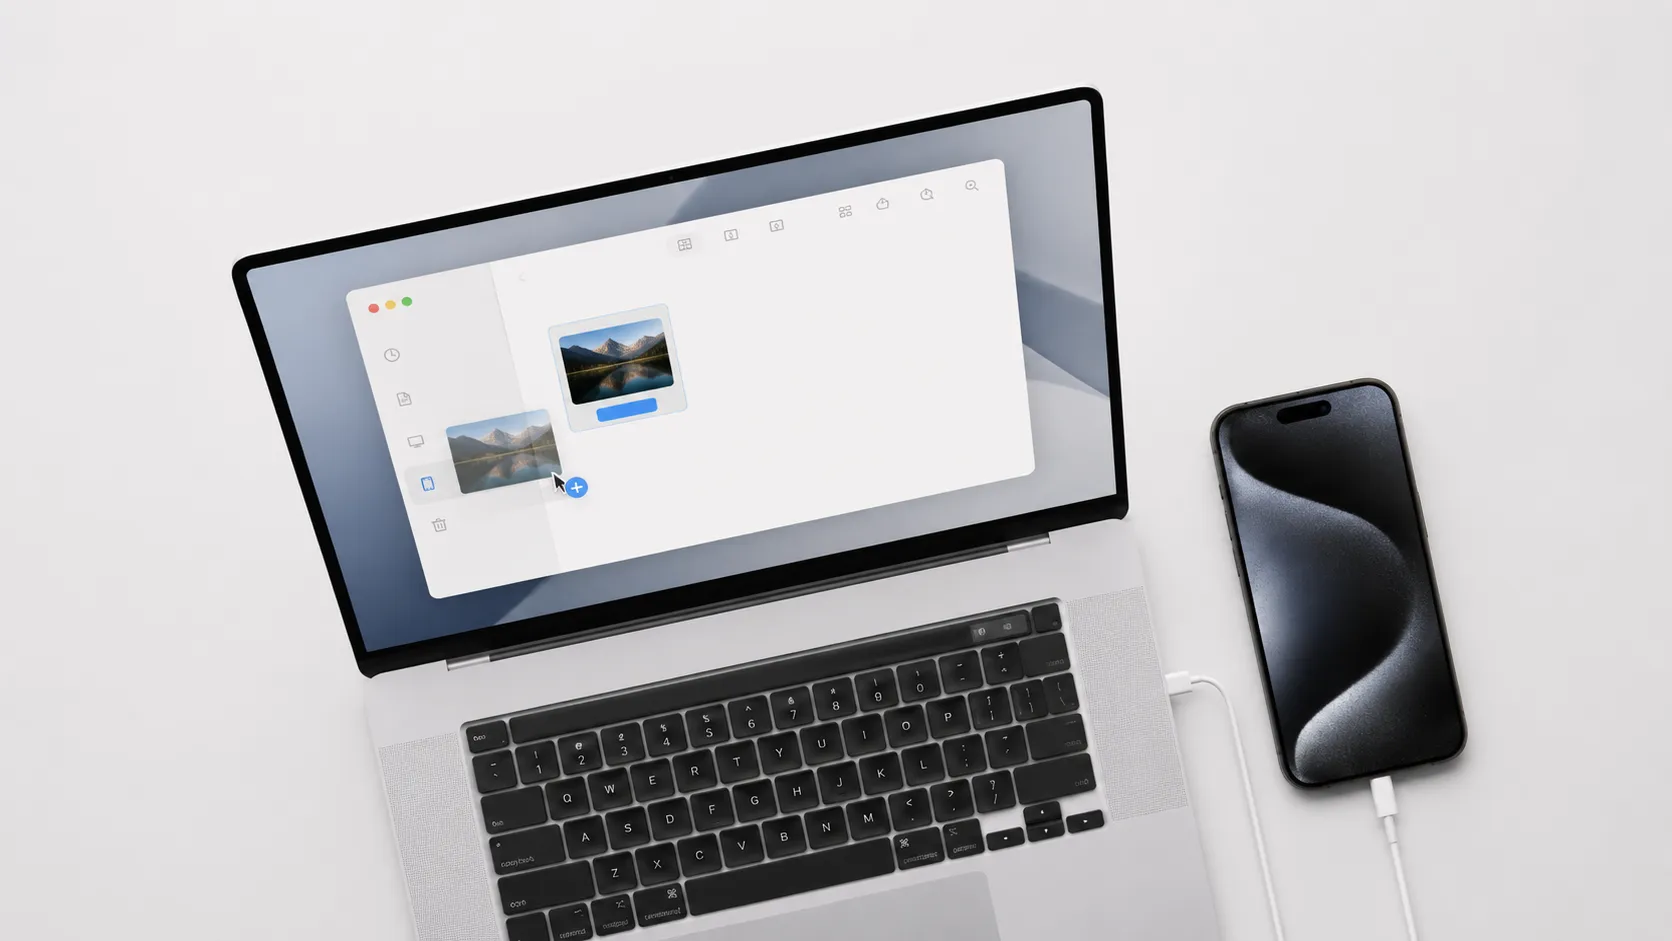
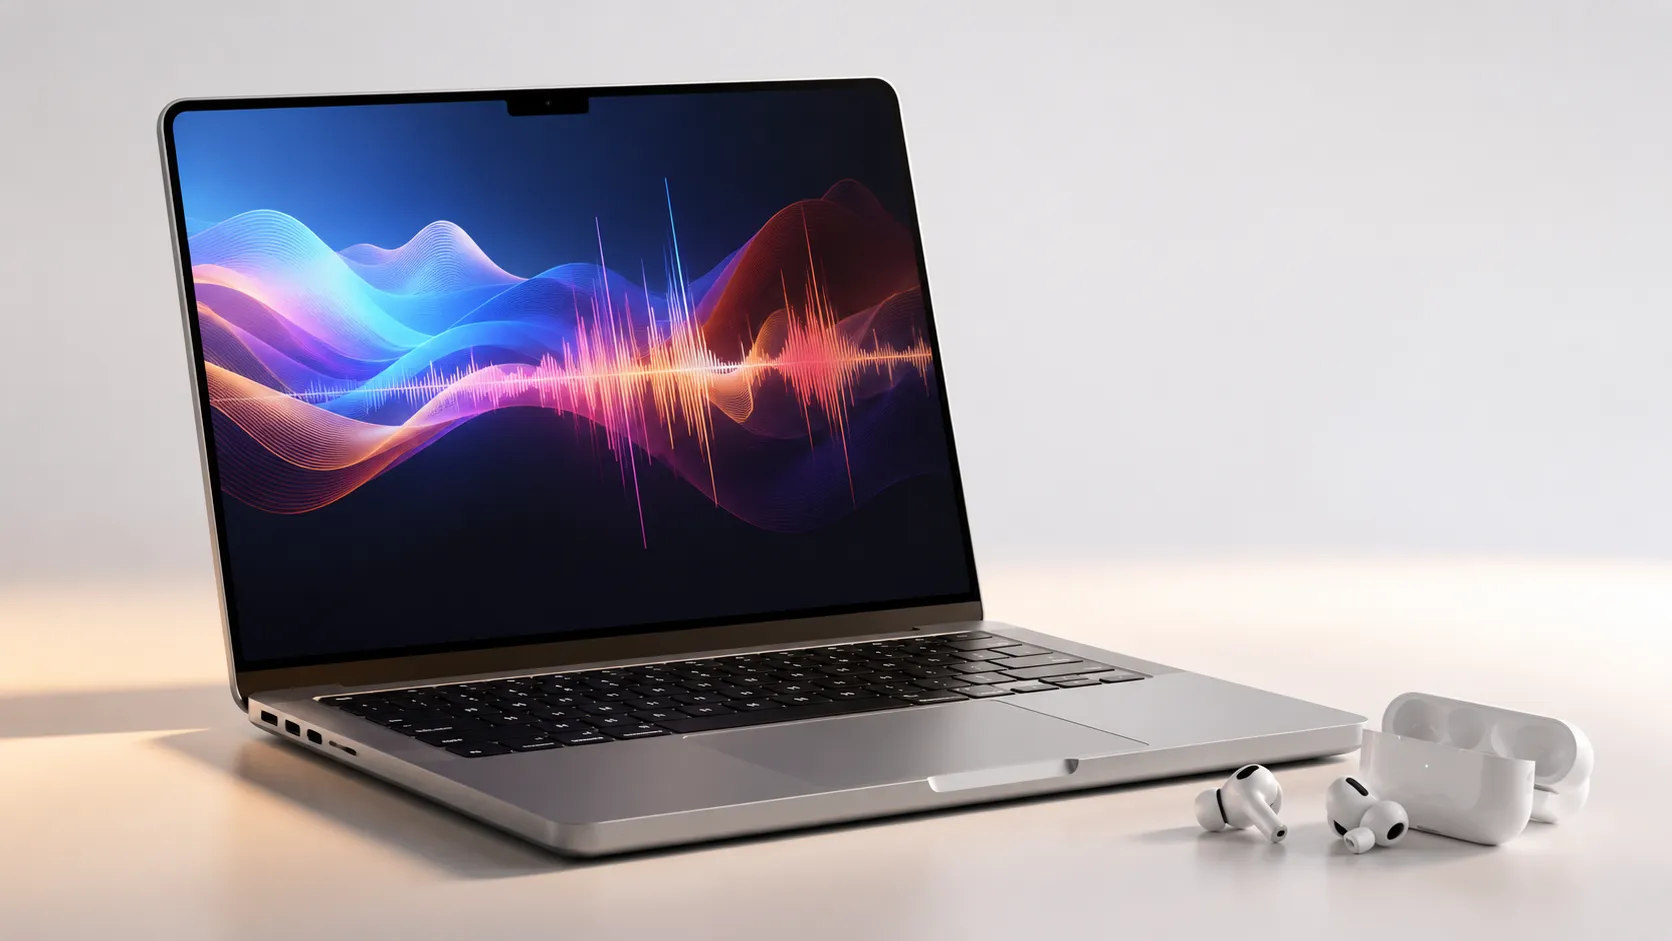
Transferring Ripped Videos to Your iPhone
Once the MP4 is on your Mac, three transfer methods cover every scenario. AirDrop is the fastest for single files; Finder sync handles bulk libraries; iCloud Drive works when both devices aren’t in the same room.
AirDrop (Fastest for Single Files)
- On your iPhone, open Control Center and confirm AirDrop is set to “Contacts Only” or “Everyone”.
- On your Mac, right-click the MP4 file in Finder and choose Share > AirDrop.
- Select your iPhone from the device list. The file transfers at Wi-Fi speeds - a 2 GB file typically arrives in under 2 minutes on a local network.
- The video lands in the Files app under “On My iPhone” and also appears in Photos if it’s a video format Photos recognizes.
Finder Sync (Best for Libraries)
Connect your iPhone to your Mac via USB. Open Finder, select your iPhone in the sidebar, and click the Movies tab. Drag MP4 files into the Movies section and click Sync. This method requires the files to be added to a compatible app - the Apple TV app works well and organizes films by title.
iCloud Drive
Drop the MP4 into iCloud Drive on your Mac. On your iPhone, open the Files app, navigate to iCloud Drive, and tap the file to download it. This approach requires sufficient iCloud storage - a 2 GB film uses 2 GB of your plan quota.
Paid DVD Ripper Showdown: WinX, MacX, Toast, and Others
Paid tools justify their cost primarily when you have copy-protected commercial discs or need batch processing with device-specific presets. Here is how the main options compare.
| Tool | Price | CSS Decryption | iPhone Presets | Batch Processing | macOS Sonoma Support |
|---|---|---|---|---|---|
| HandBrake 1.7 | Free | No (unprotected only) | Yes | Yes (Queue) | Yes |
| MacX DVD Ripper Pro | $67.95 | Yes | Yes | Yes | Yes |
| WinX DVD Ripper | $29.95/yr or $59.95 one-time | Yes | Yes | Yes | Yes |
| Roxio Toast 20 | ~$100 | Partial | Limited | Limited | Yes |
| DVD-Video Ripper (App Store) | Free | No | Basic | No | Yes |
For unprotected home movies and personal DVDs, HandBrake wins outright - it is free, actively maintained, and produces output quality that matches any paid tool. For commercial discs where you want a one-click workflow, WinX DVD Ripper at $29.95/year is the better value compared to MacX at $67.95. Roxio Toast is primarily a disc-burning suite; its ripping capability is secondary and not worth $100 for this use case alone.
The Mac App Store’s DVD-Video Ripper app is listed as free and handles homemade DVDs with no configuration, but it offers no CSS support and limited format options.
converting and burning MKV files on Mac is a useful companion if your ripped files end up in MKV format and need further processing.
Troubleshooting: Drive Not Recognized, Stuck Discs, and Choppy Playback
DVD ripping on modern Macs surfaces a predictable set of problems. Here are the most common ones and their fixes.
Drive not recognized in macOS Sonoma. Open Disk Utility (Applications > Utilities > Disk Utility) and check whether the drive appears in the sidebar at all. If it does not appear, the issue is power delivery - connect through a powered USB hub. If it appears but the disc does not mount, try a different disc to rule out media damage. On macOS Sonoma specifically, some third-party drives require their own driver software, available from the manufacturer’s support page.
Disc stuck in the drive. The Apple SuperDrive has no manual eject pinhole. If the software eject fails, restart your Mac while holding the mouse button or trackpad - this triggers a firmware-level eject on startup. Third-party drives with a pinhole allow a straightened paperclip eject as a last resort.
HandBrake finds no titles on a commercial DVD. This is CSS encryption blocking the scan. HandBrake cannot decrypt protected discs on its own on macOS Sonoma. Switch to MacX DVD Ripper Pro or WinX DVD Ripper for these discs.
Choppy playback on iPhone after transfer. Check the codec: if you encoded to H.265 and the iPhone is older than iPhone 7, re-encode to H.264. Also verify the frame rate - DVDs are 29.97 fps (NTSC) or 25 fps (PAL). HandBrake’s “Same as source” frame rate setting is correct; do not force 60 fps on a 29.97 fps source.
Batch ripping a TV series box set. HandBrake’s Queue is the right tool. Load the first disc, add all episode titles to the Queue with unique file names using the Title token, then swap discs when prompted. The queue pauses when a new disc is needed. This workflow digitized a 6-season box set (144 episodes) in a single weekend in real-world testing, running HandBrake overnight on each disc swap.
recording Mac screen output is an alternative for short clips when full ripping is impractical, though quality and legality considerations differ.
Key Takeaways
- HandBrake 1.7 (free) is the best starting point for unprotected DVDs. Use the “Apple 1080p60 Surround” preset and export to MP4 for direct iPhone compatibility.
- Modern Macs need a powered USB hub to reliably run the Apple USB SuperDrive or most third-party drives; passive USB-C adapters frequently fail to supply adequate power.
- For copy-protected commercial DVDs, WinX DVD Ripper ($29.95/year) offers the best price-to-capability ratio among paid tools; MacX DVD Ripper Pro costs more and has documented subtitle rendering issues.
- AirDrop is the fastest transfer method for individual films; Finder sync is more efficient for large collections.
- H.264 MP4 at 3,000 kbps, 1920x1080 is the balanced encoding target that plays natively on every iPhone from iPhone 6s onward without requiring a third-party app.
Frequently Asked Questions
Can I rip a copy-protected commercial DVD on my Mac legally?
In the United States, circumventing DVD copy protection (CSS encryption) is technically prohibited under the DMCA, even for personal backup. Many other countries have personal-use exemptions. The practical reality is that millions of people rip their own purchased discs for personal use, but you should review the laws in your jurisdiction before proceeding with encrypted commercial DVDs.
What is the best container format for iPhone – MP4 or MKV?
MP4 (H.264 or H.265) is the correct choice for direct iPhone playback in the Photos app or Files app without a third-party player. MKV is a more capable container that preserves multiple audio tracks and subtitles, but iPhones do not natively play MKV files. If you want MKV for archiving, you will need an app like VLC for iOS or Infuse to play it on the iPhone.
How do I burn subtitles into the ripped video for iPhone?
In HandBrake, open the Subtitles tab before encoding. Select the subtitle track from the DVD source and check the ‘Burned In’ checkbox – this permanently renders the subtitles onto the video frames. Burned-in subtitles work in every player on iPhone with no compatibility issues, unlike soft subtitle tracks that require app support.
Can I batch-rip an entire TV series DVD box set with HandBrake?
Yes. HandBrake includes a built-in Queue system. Load each title from the disc using the ‘Add to Queue’ button rather than clicking Start, then load the next disc and repeat. The queue processes all jobs sequentially overnight. For auto-naming, use the Title token in the Save As field so each episode file gets a unique name automatically.
My Mac doesn’t recognize the external DVD drive. What should I try?
First, connect the drive directly to a USB-A port or use a powered USB hub – the Apple USB SuperDrive in particular draws more current than some passive USB-C adapters supply. If the disc still doesn’t mount, open Disk Utility to see if the drive appears at all. On macOS Ventura and Sonoma, also check System Settings > Privacy & Security to confirm no sandboxing is blocking disc access.
Recommended reading
How to Play Blu-Ray on Mac: Every Method Ranked
Learn how to play Blu-ray on Mac with the right external drive and software. Free VLC method, paid apps, and ripping compared for macOS Sequoia 2026.
Best Blu-Ray Ripper for Mac in 2026: Free & Paid
Find the best Blu-ray ripper for Mac in 2026. Compare MakeMKV, HandBrake, DVDFab, and EaseFab with step-by-step setup and troubleshooting tips.
Convert Facebook Video to MP3: Every Method Ranked
Learn how to convert Facebook video to MP3 using free online tools, VLC, yt-dlp, and desktop apps. Step-by-step guide with quality comparisons.